Synopsis
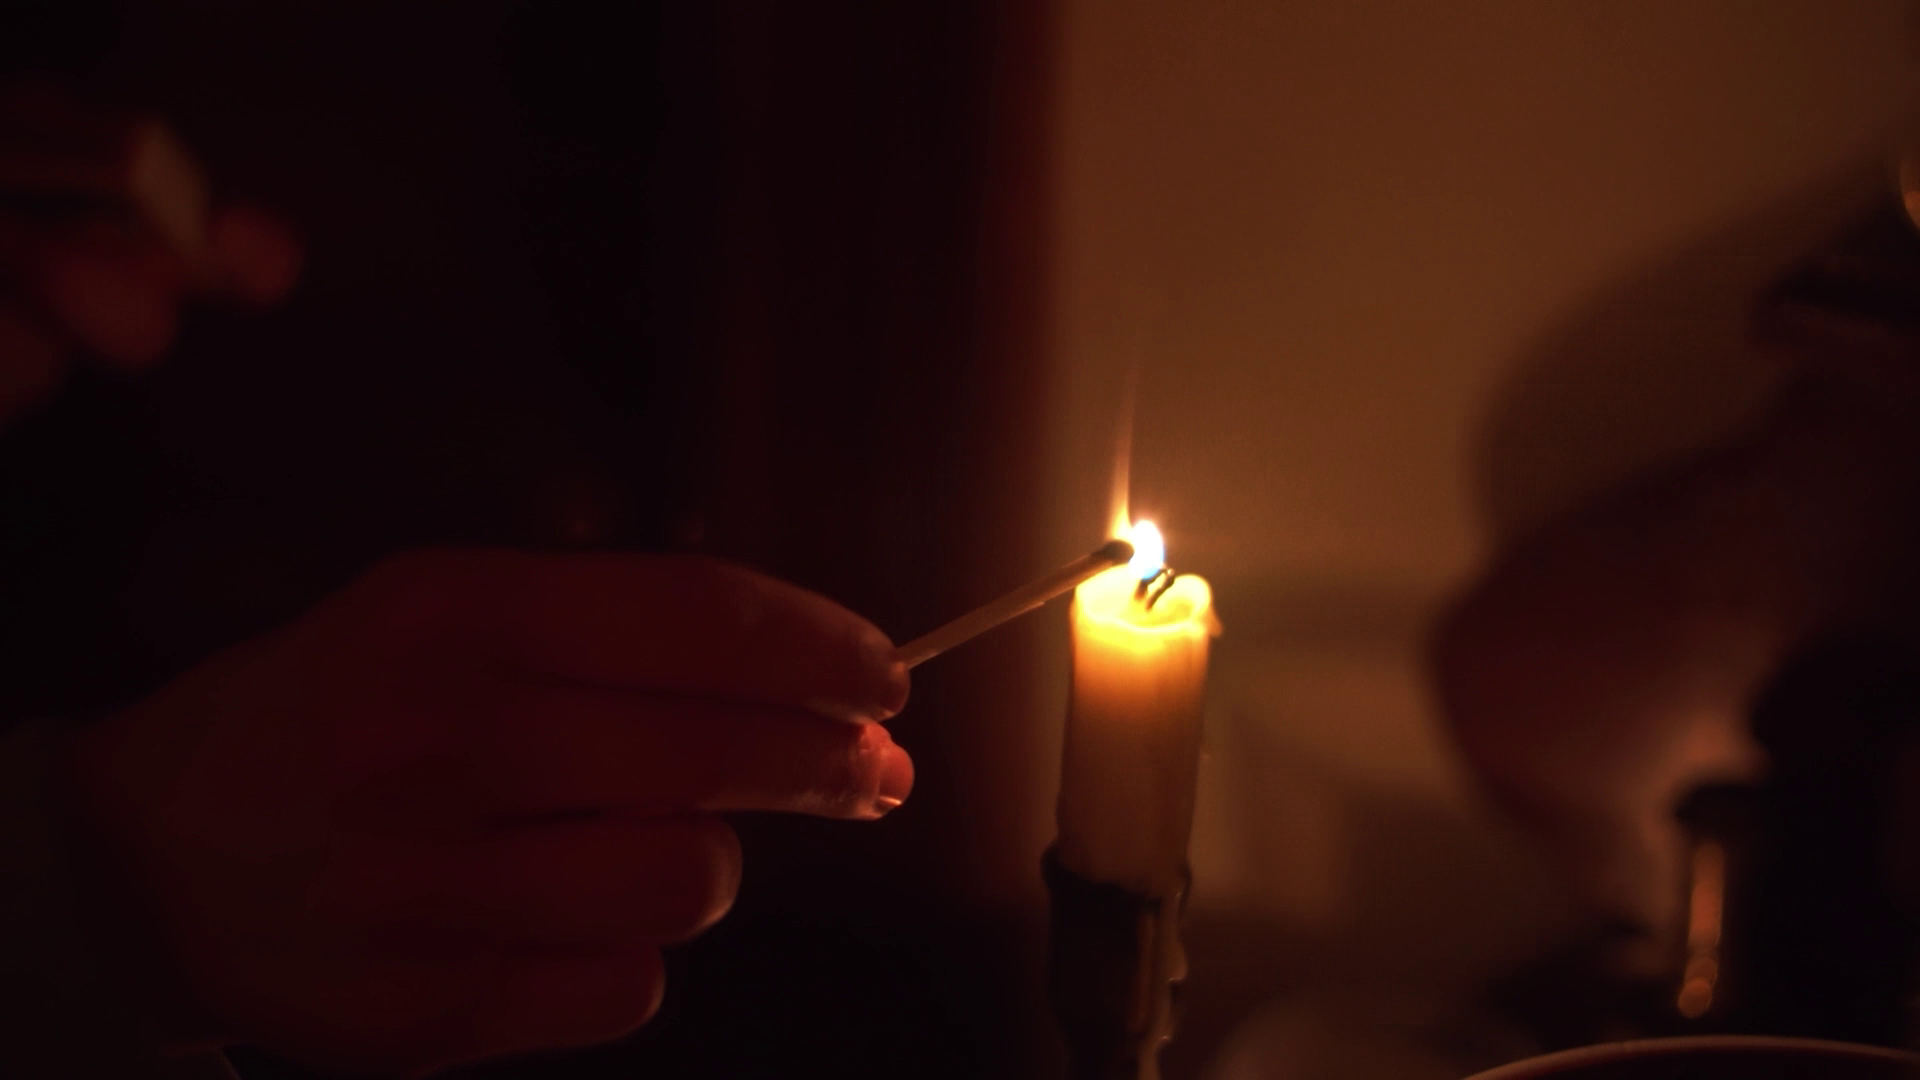
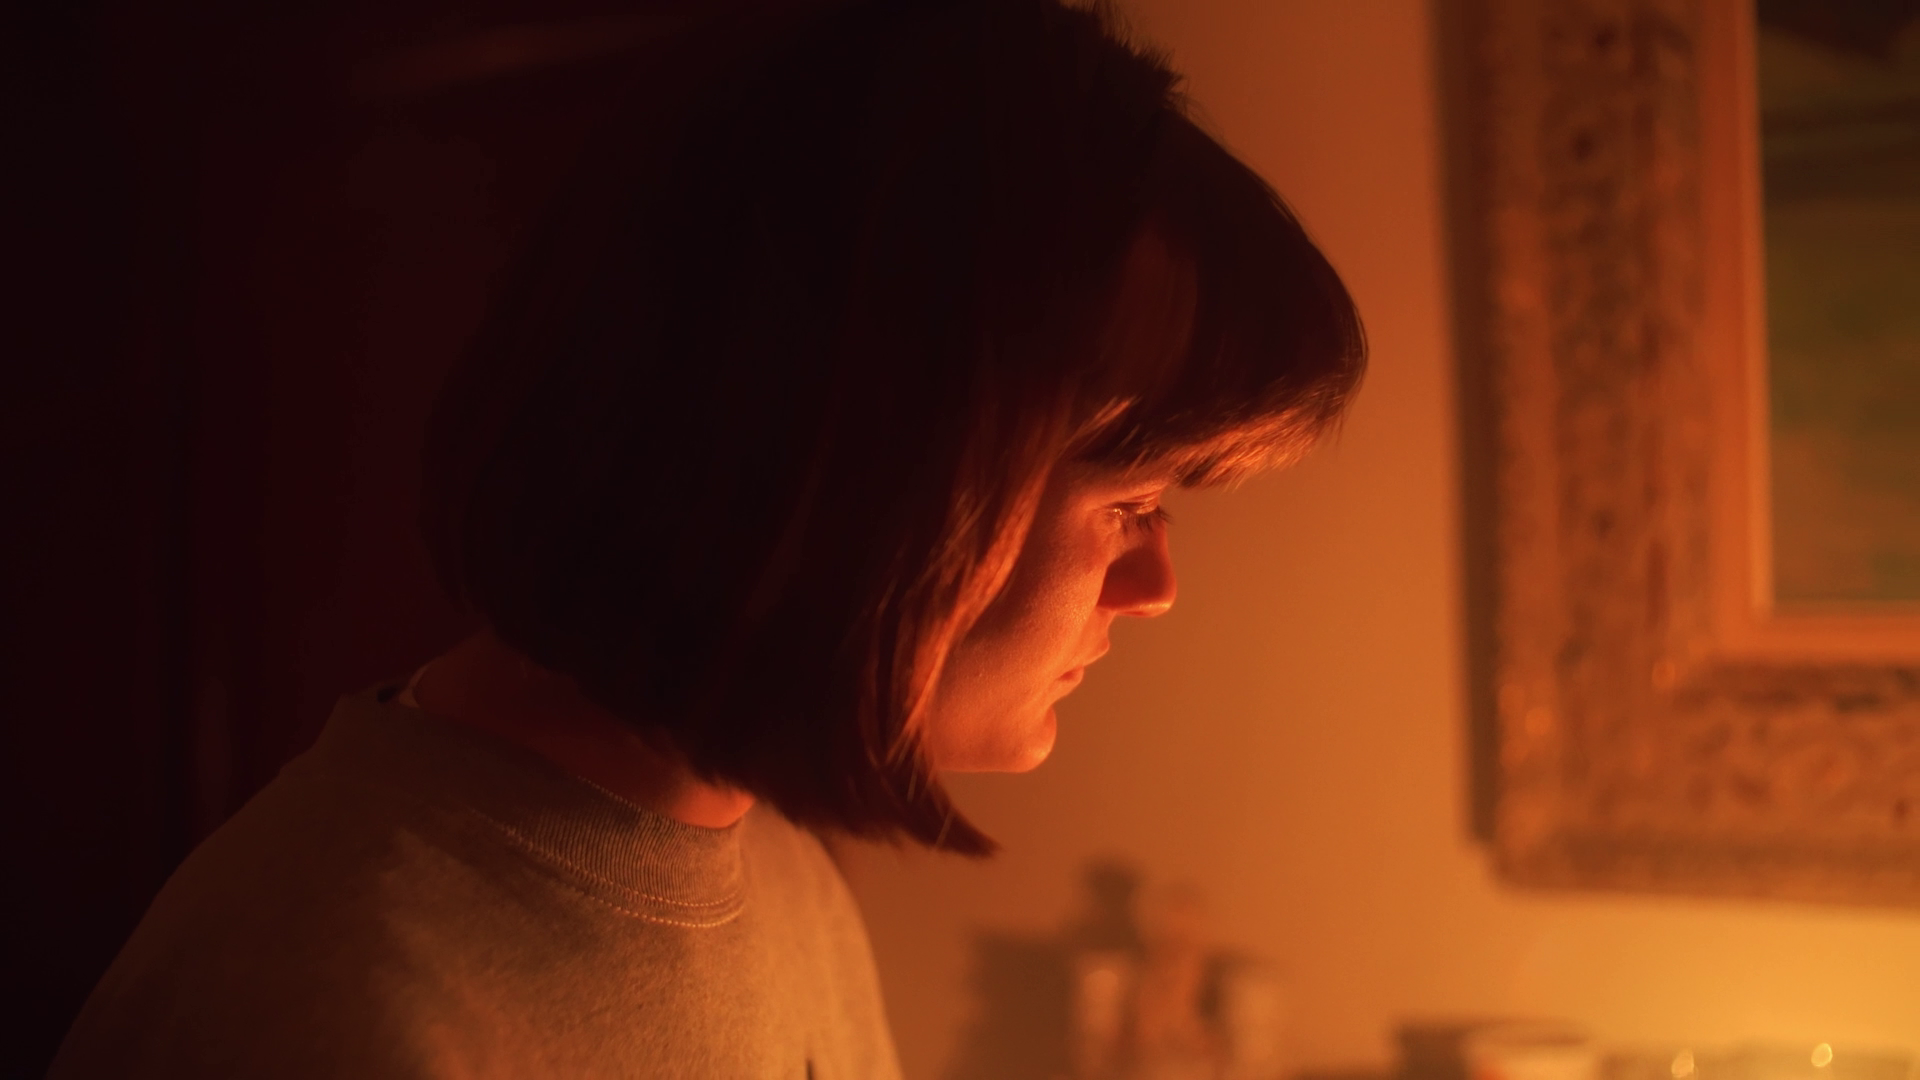
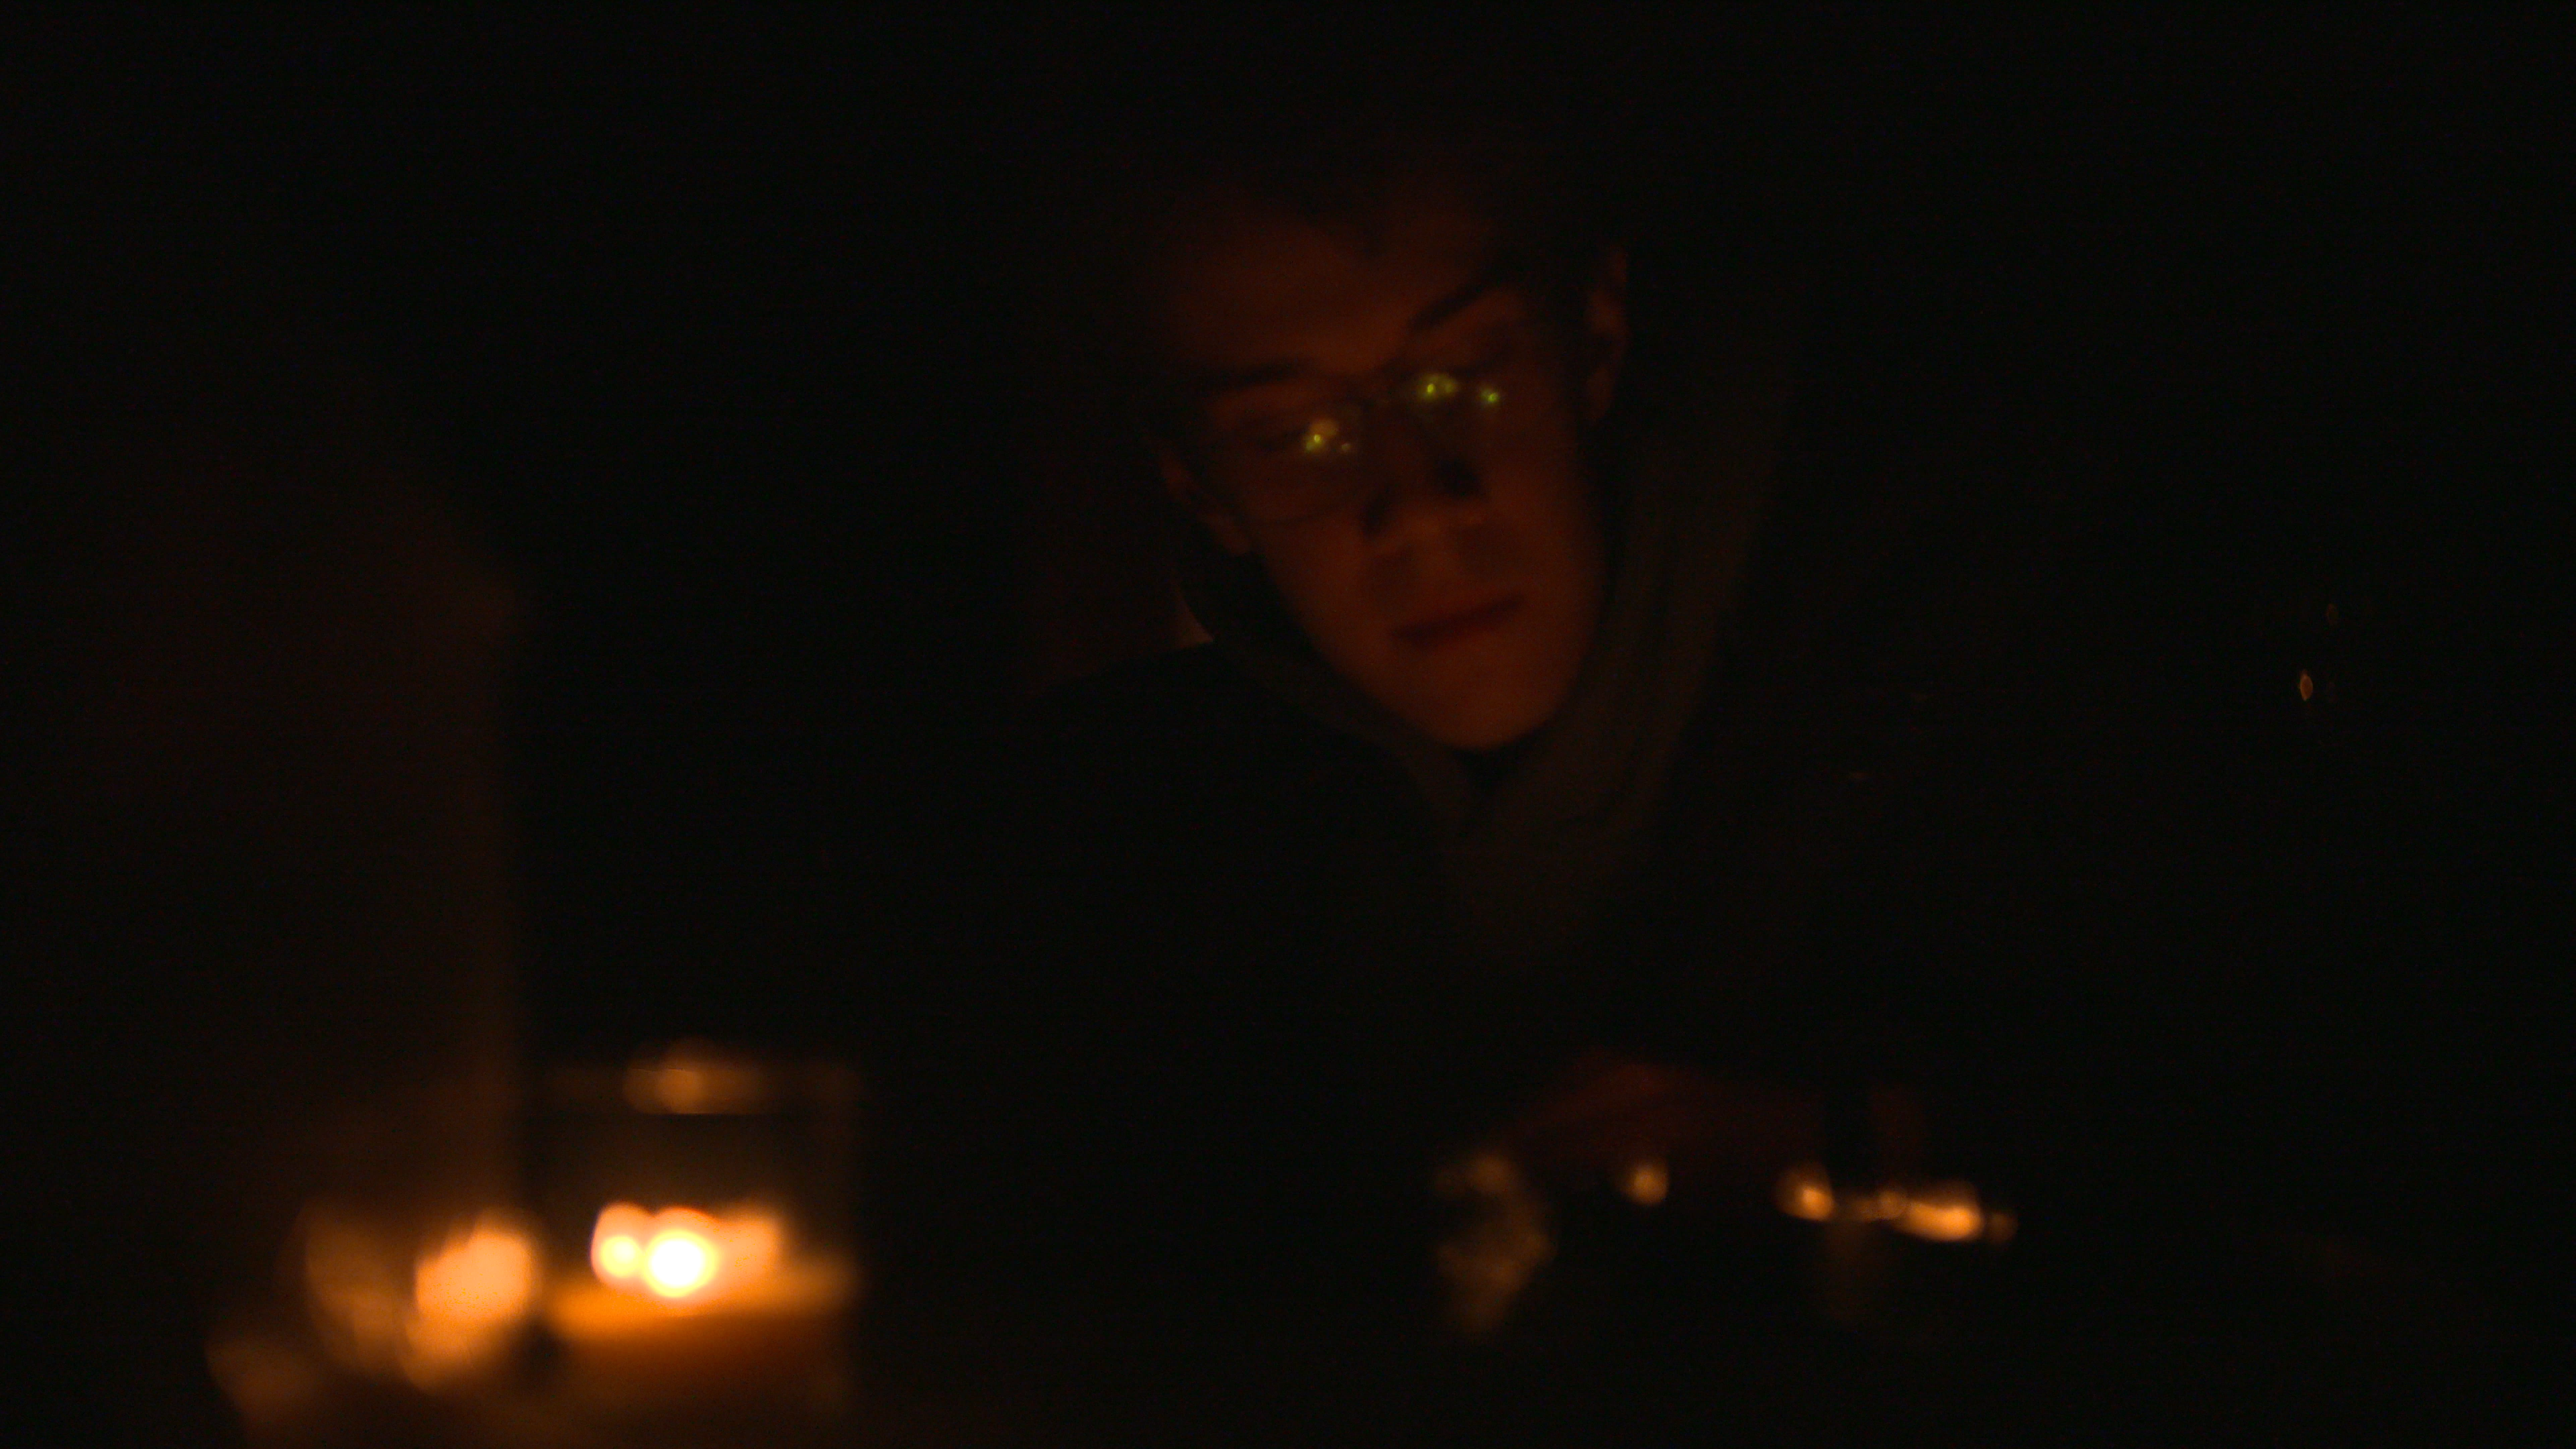
This very short movie was entirely lit by candlelight in one long shot, creating an enchanting ambiance.
The rules for this assignment dictated that it had to be a long take and lit with practical lights. I decided to take this a step further and illuminate it entirely with homemade candles, paying homage to the movie "Barry Lyndon" (1975). To maximise the available light, I opted to create my own candles, incorporating multiple or woven wicks and using beeswax.
In my quest to amplify the luminosity, I employed my vintage 50mm f1.4 lens wide open, achieving an exceptionally distinctive aesthetic. However, this choice introduced challenges, particularly in achieving precise focus, exacerbated by the camera, a Sony A7III, being mounted on a lightweight gimbal.
Read my full blogpost about how I have made this video below or watch the video


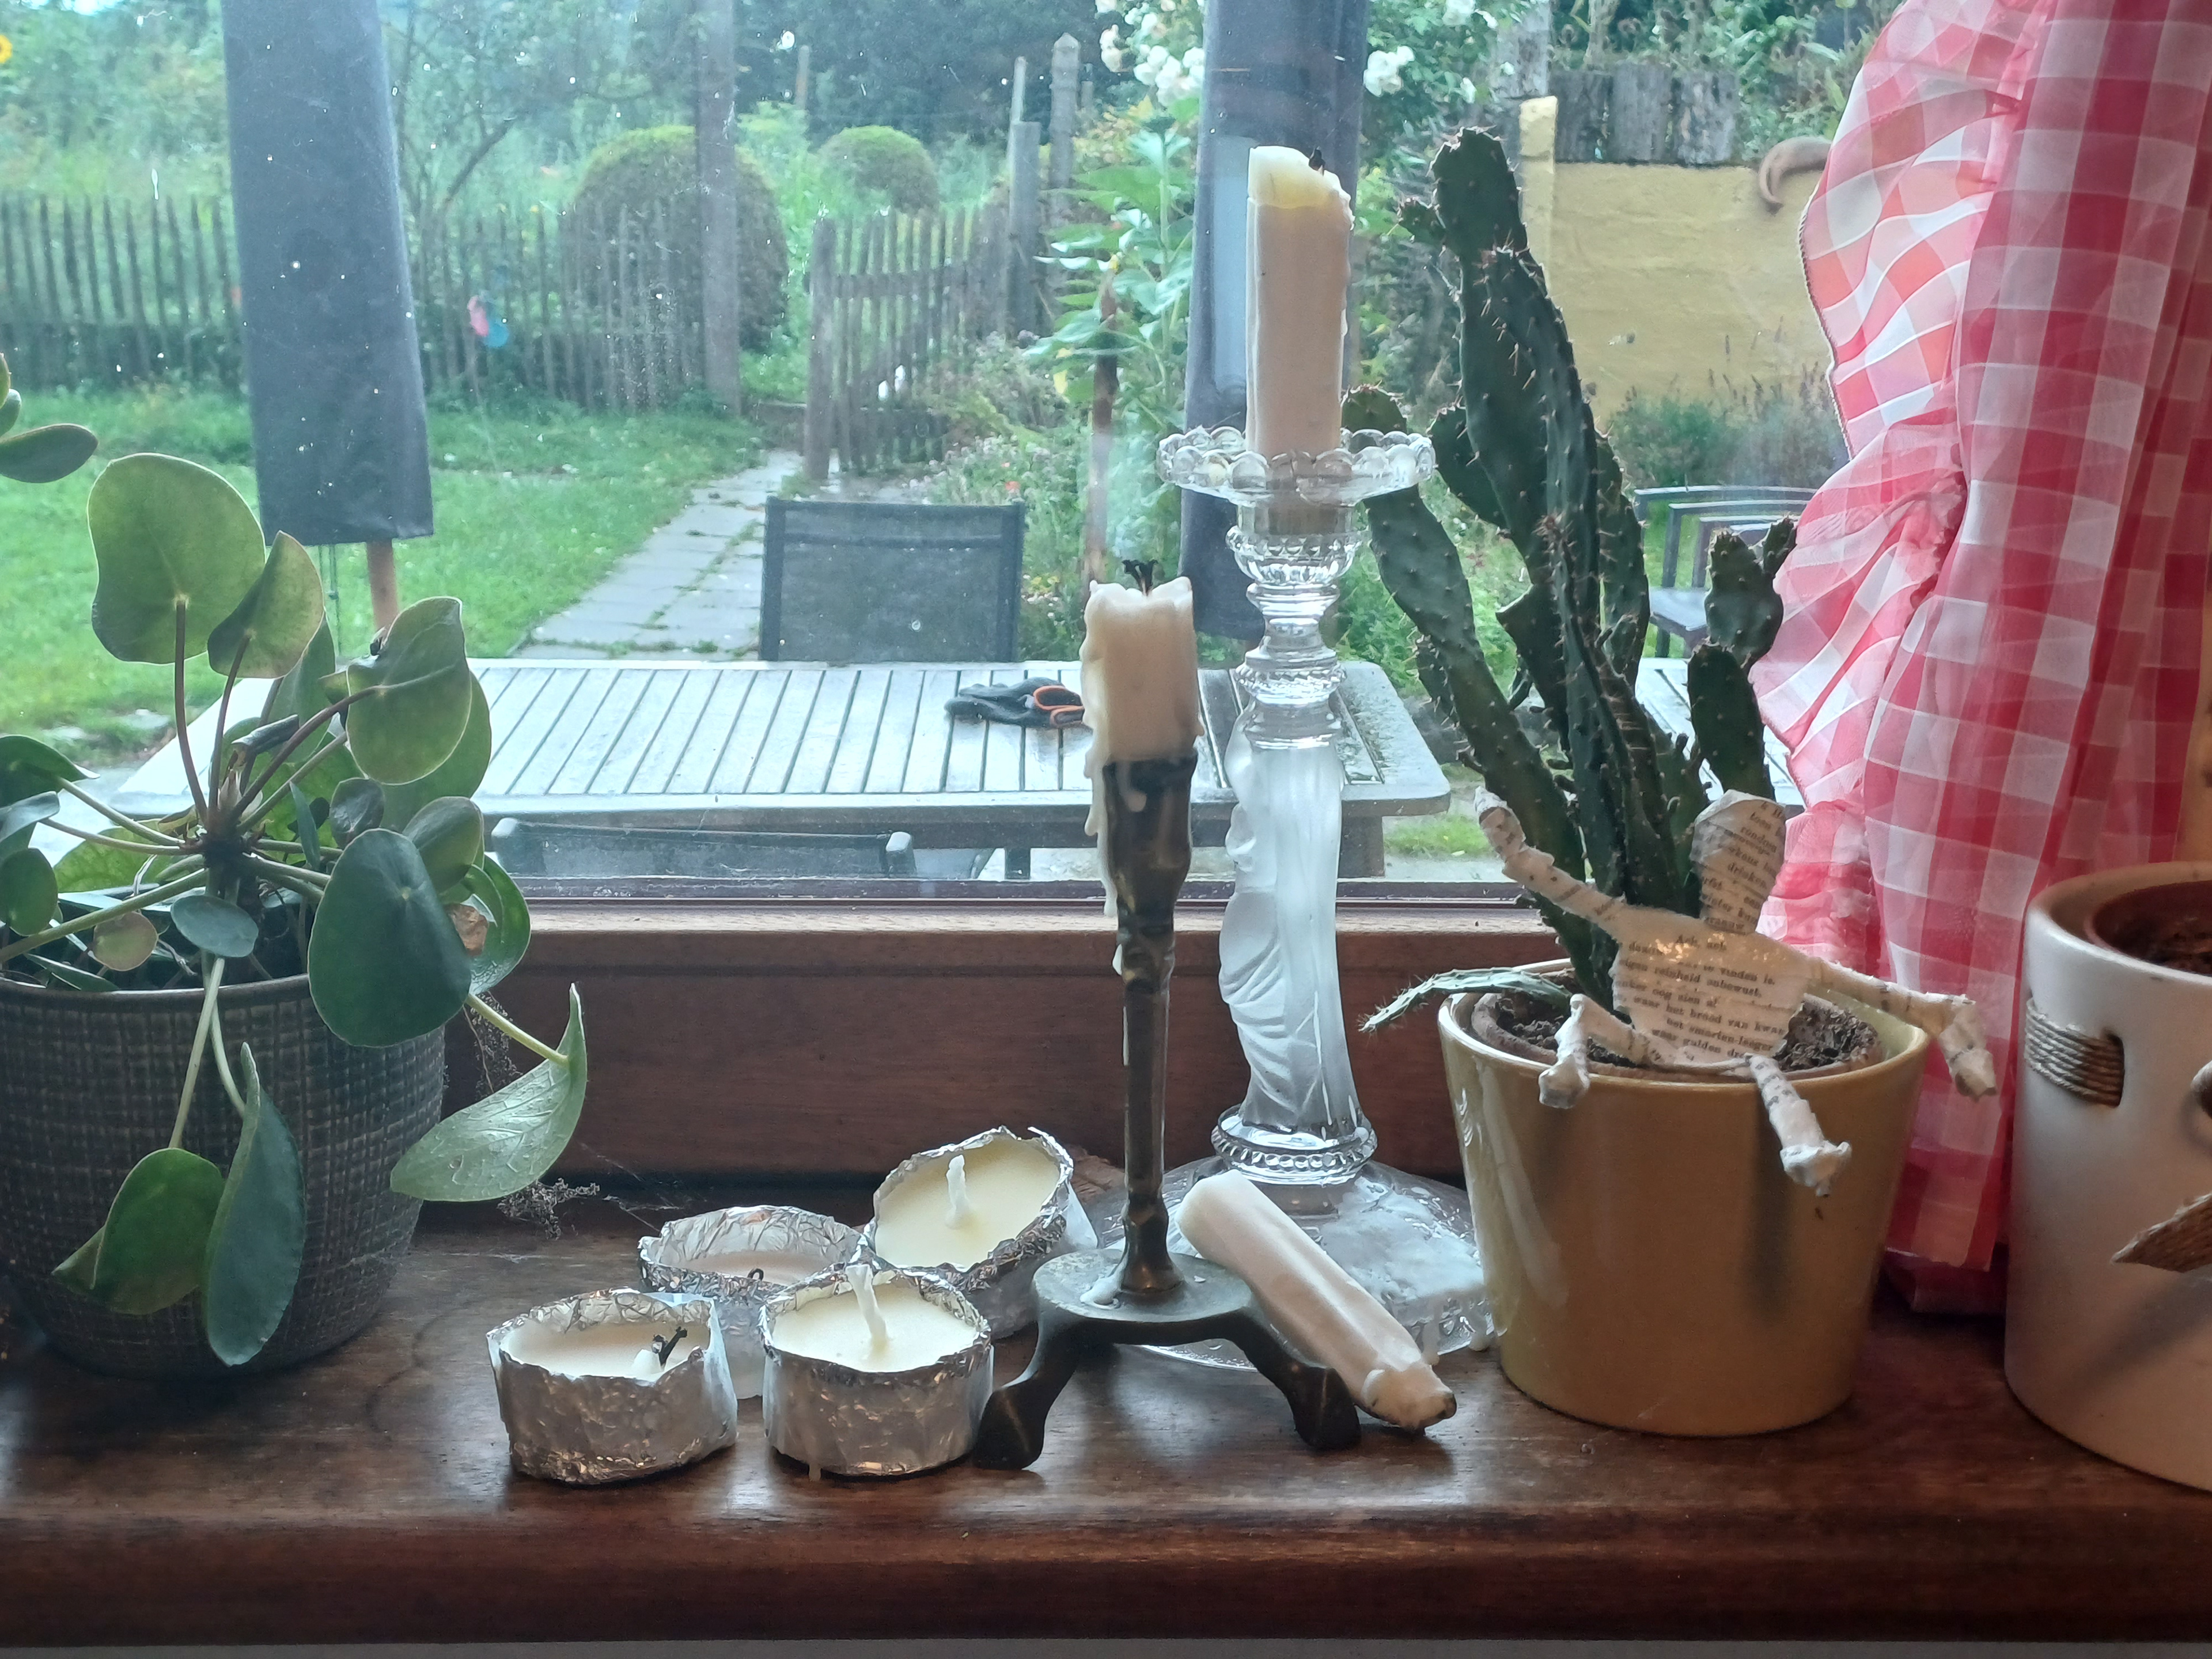
1. The Candles
My main worry throughout this project was simply not having enough light, and that concern influenced every decision I made while preparing the project. I grabbed my fastest lens and borrowed the most light-sensitive camera I could find, hoping that would help. But I didn't just want to rely on technology – I also wanted to tackle the light issue right at its source, the candles.
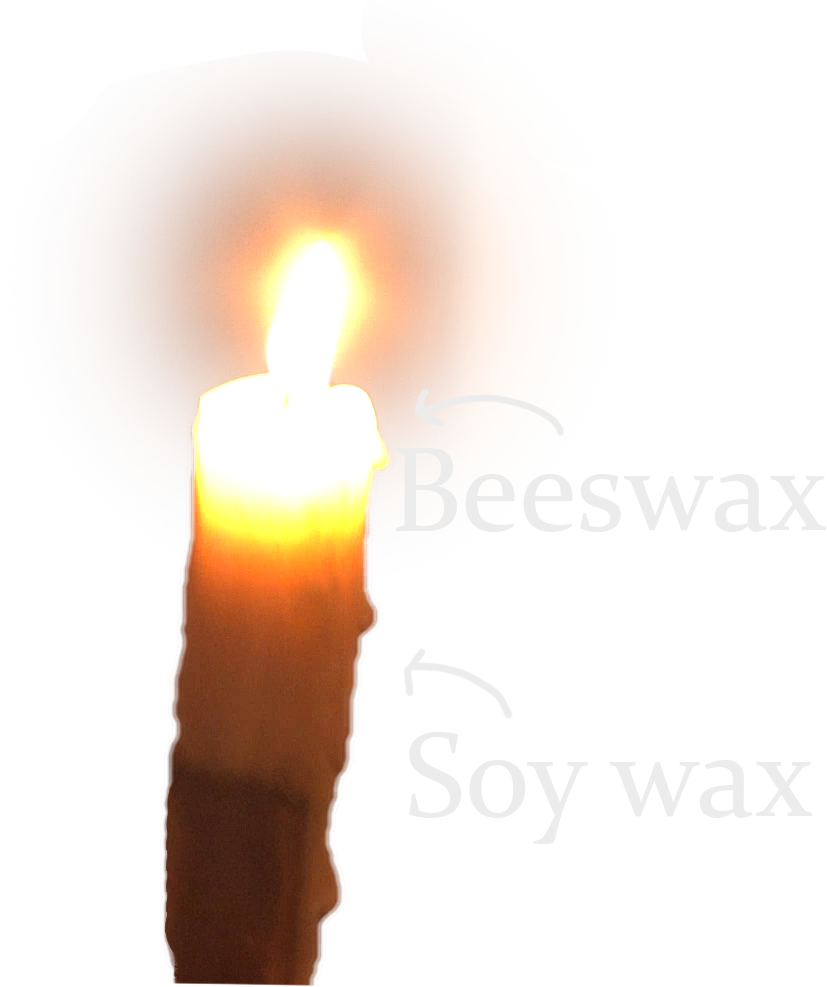
I did some research on how to make the brightest candle and found out it comes down to three things: the type of wax, the wick, and the size of the melted wax pool around the wick. Beeswax seemed to give the brightest flame compared to soy wax, and I realised that a wick with more surface area burns better. I couldn't find much info on wick material, so I stuck with regular cotton ones. As for the wax pool, bigger meant better, but I had to work with the size of my candle holder so I hoped it would be enough.
After watching a quick TikTok tutorial, I decided to give it a shot and started making candles. I did a two-layer thing, not for fancy alternating scents, but because beeswax was a bit too pricey. So, I poured most of the candle in cheaper soy wax, and once that dried, I added a small layer of beeswax on top, hoping it would help with the brightness. In the final movie you can actually see the two layers as the beeswax is more translucent as soy wax. For the wicks, I took different approaches. For the long skinny candles, I braided three thin wicks together to make a thicker one. For the shorter, thicker candles that were just meant to add some extra light, I spaced out three separate wicks in each candle, thinking it might create three flames in one.
In total, I spend 30 euros on candle making supplies and I have quite a bit left so if film making doesn't work out I can start an Etsy candle shop.
2. The Story
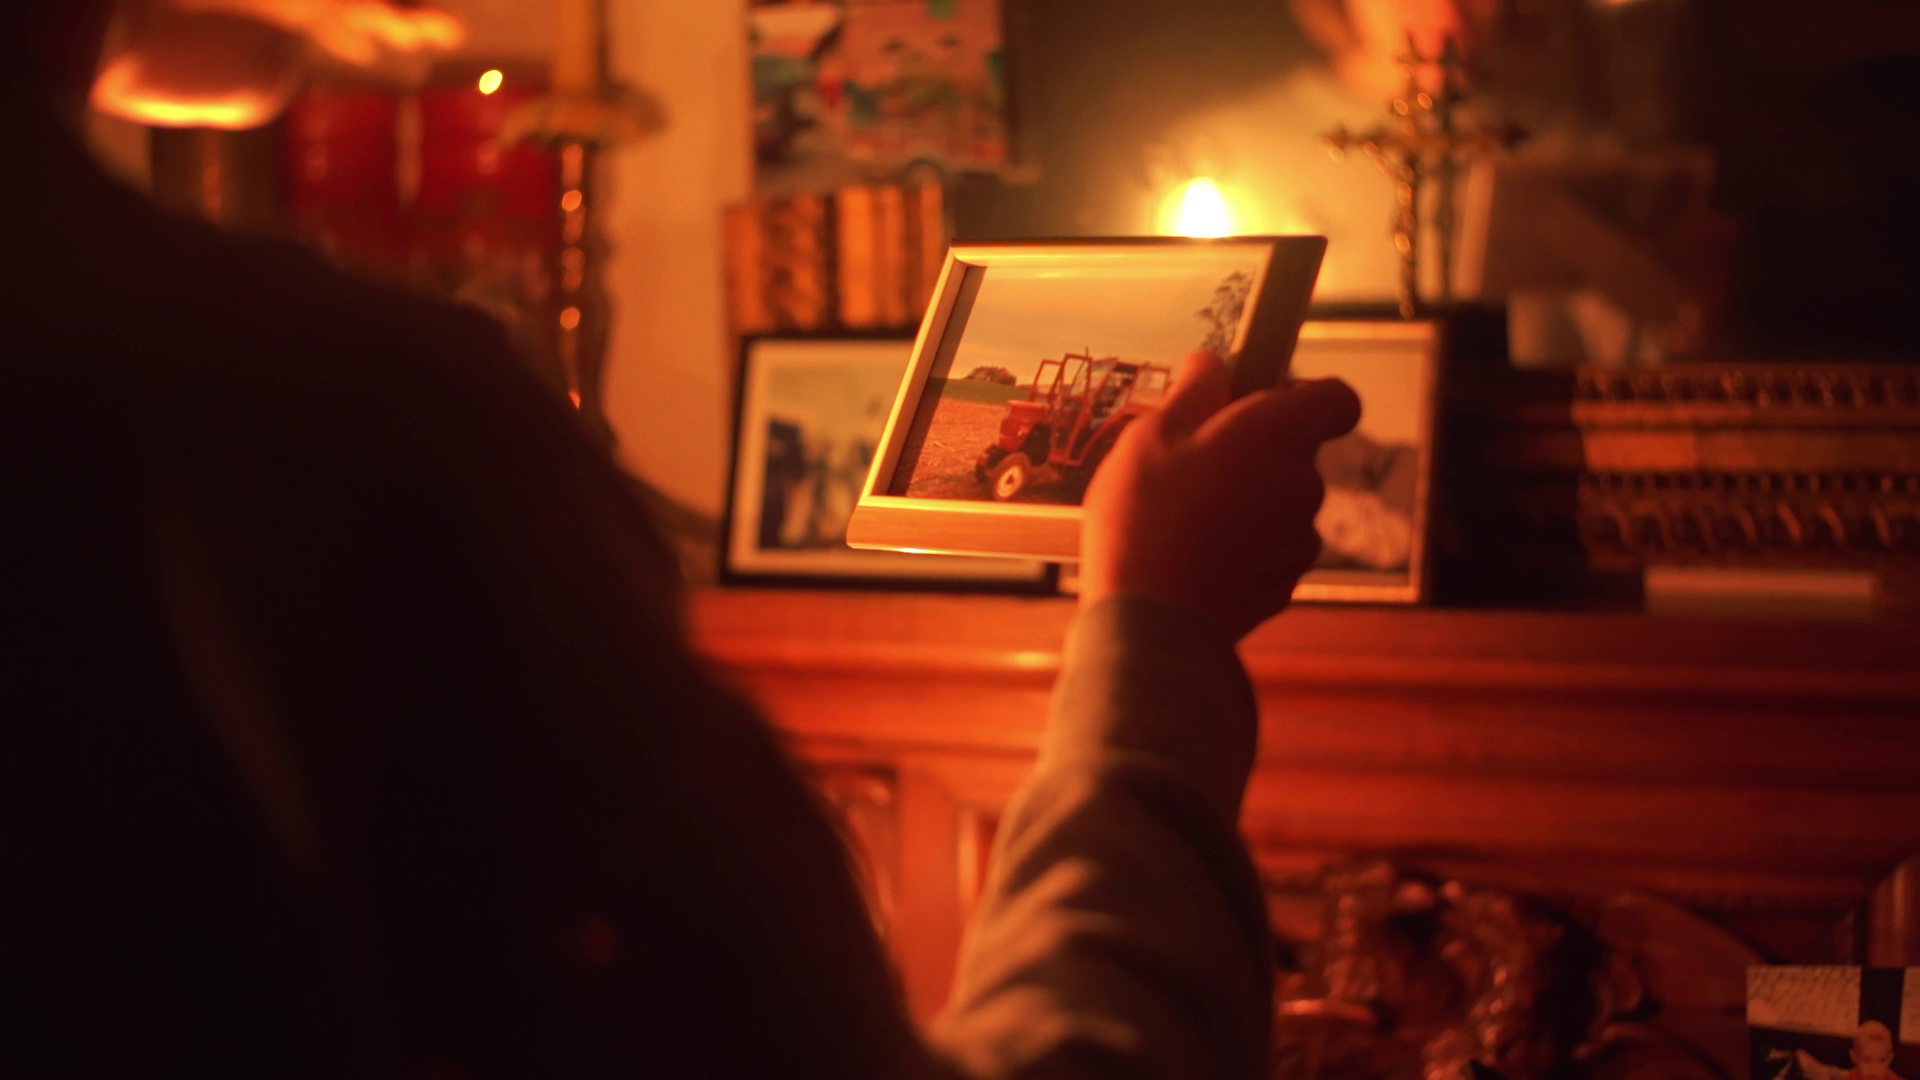
I must confess that the story wasn't my primary focus here, yet I did have some ideas for a narrative I wished to convey. One concept I entertained was employing the act of extinguishing candles to symbolise the gradual fading of memories (hence the title) from the character's recollections. Building upon this concept, I began choreographing the camera movements and the actress's actions to create a seamless narrative and visual trajectory.
In the film's ending, the moment when the final candle is snuffed out could signify the complete loss of her memory or ever her death.
3. The Technical Side
As previously mentioned, I had a significant concern about not having enough light to achieve a reasonably clean image. Therefore, most of the technical choices were influenced by this concern. Initially, I intended to film this with the camera on my shoulder to facilitate easy focus adjustments. That's why I chose the Sony FS7. While the FS7 boasts excellent ergonomics and colour rendition, I was unsure if it would be sufficiently light-sensitive. Consequently, I decided to put it to the test. During my first round of tests, I filmed myself with one of my three-wicked candles, keeping it about 30 cm away from my face and tested it with different ISO settings. Upon reviewing the results, I identified a big issue: even with my face so close to the candles, it was still barely visible on camera even on the highest ISO setting.
After the tests, it was clear that the FS7 wasn't going to cut it. So, I shifted gears and went all out to create the most light-sensitive setup possible. That's when I turned to my friend's Sony A7III. I've used this camera quite a bit before and loved how it handles low light and high ISO situations. Initially, I hesitated to use it because it only records in 8-bit, which could potentially cause the candle flames to be blown out. But I didn't really have another choice, so I decided to go for it. I ended up recording in 4K, with the intention of down sampling to 1080p later to mitigate noise.
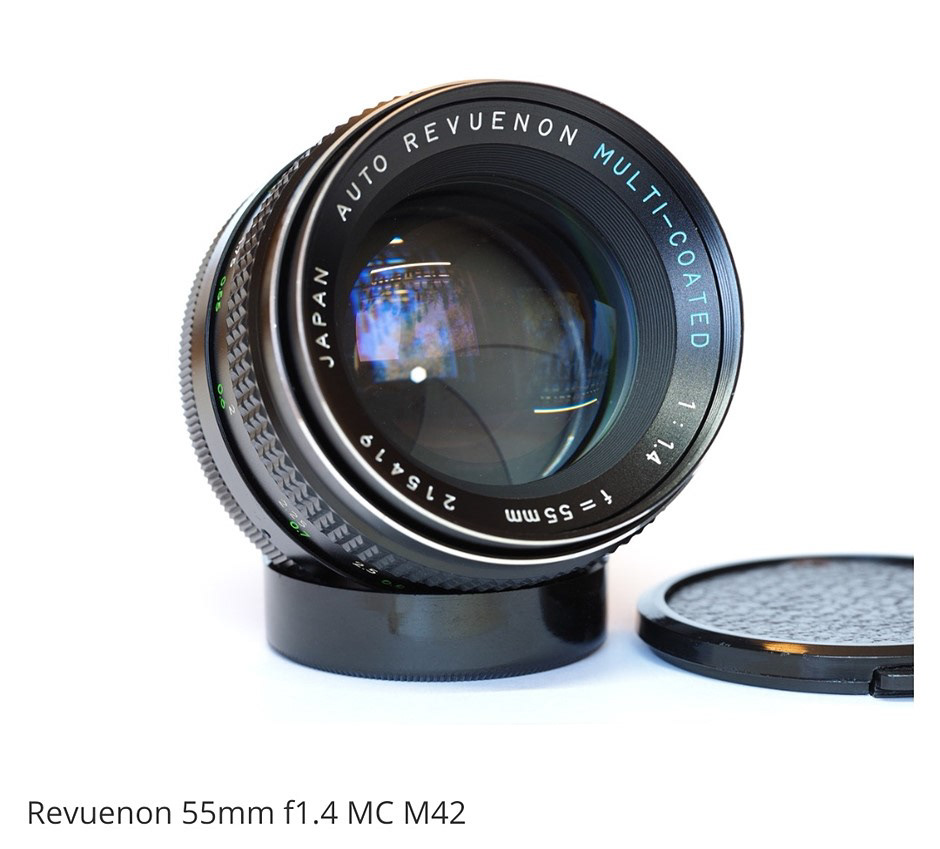
For the lens, I had a choice between the Samyang VDSLR 50mm T1.5 and my personal Revuenon 55mm f1.4. While the Samyang lens is impressive, it lacks sharpness when fully open at the edges and even exhibits quite some softness in the center. On the other hand, my Revuenon lens also experiences reduced sharpness at the edges when wide open or even stopped down, but it consistently maintains reasonable sharpness at the center. Moreover, it offers a beautifully gradual sharpness roll-off and is lightweight. These factors drove my decision to use it for this movie. Additionally, as it is an EF lens, I had the option to employ a speed booster if necessary.
During the transition from the FS7 to the A7III, I also opted to switch from a shoulder-mounted camera to a stabiliser setup. This time, I faced the decision of choosing between a mechanical stabiliser and a gimbal. While I generally prefer working with mechanical stabilisers for long walking shots, the need for continuous manual focus adjustments on the lens during the shot made this option challenging. Consequently, I ultimately selected the Ronin S gimbal.
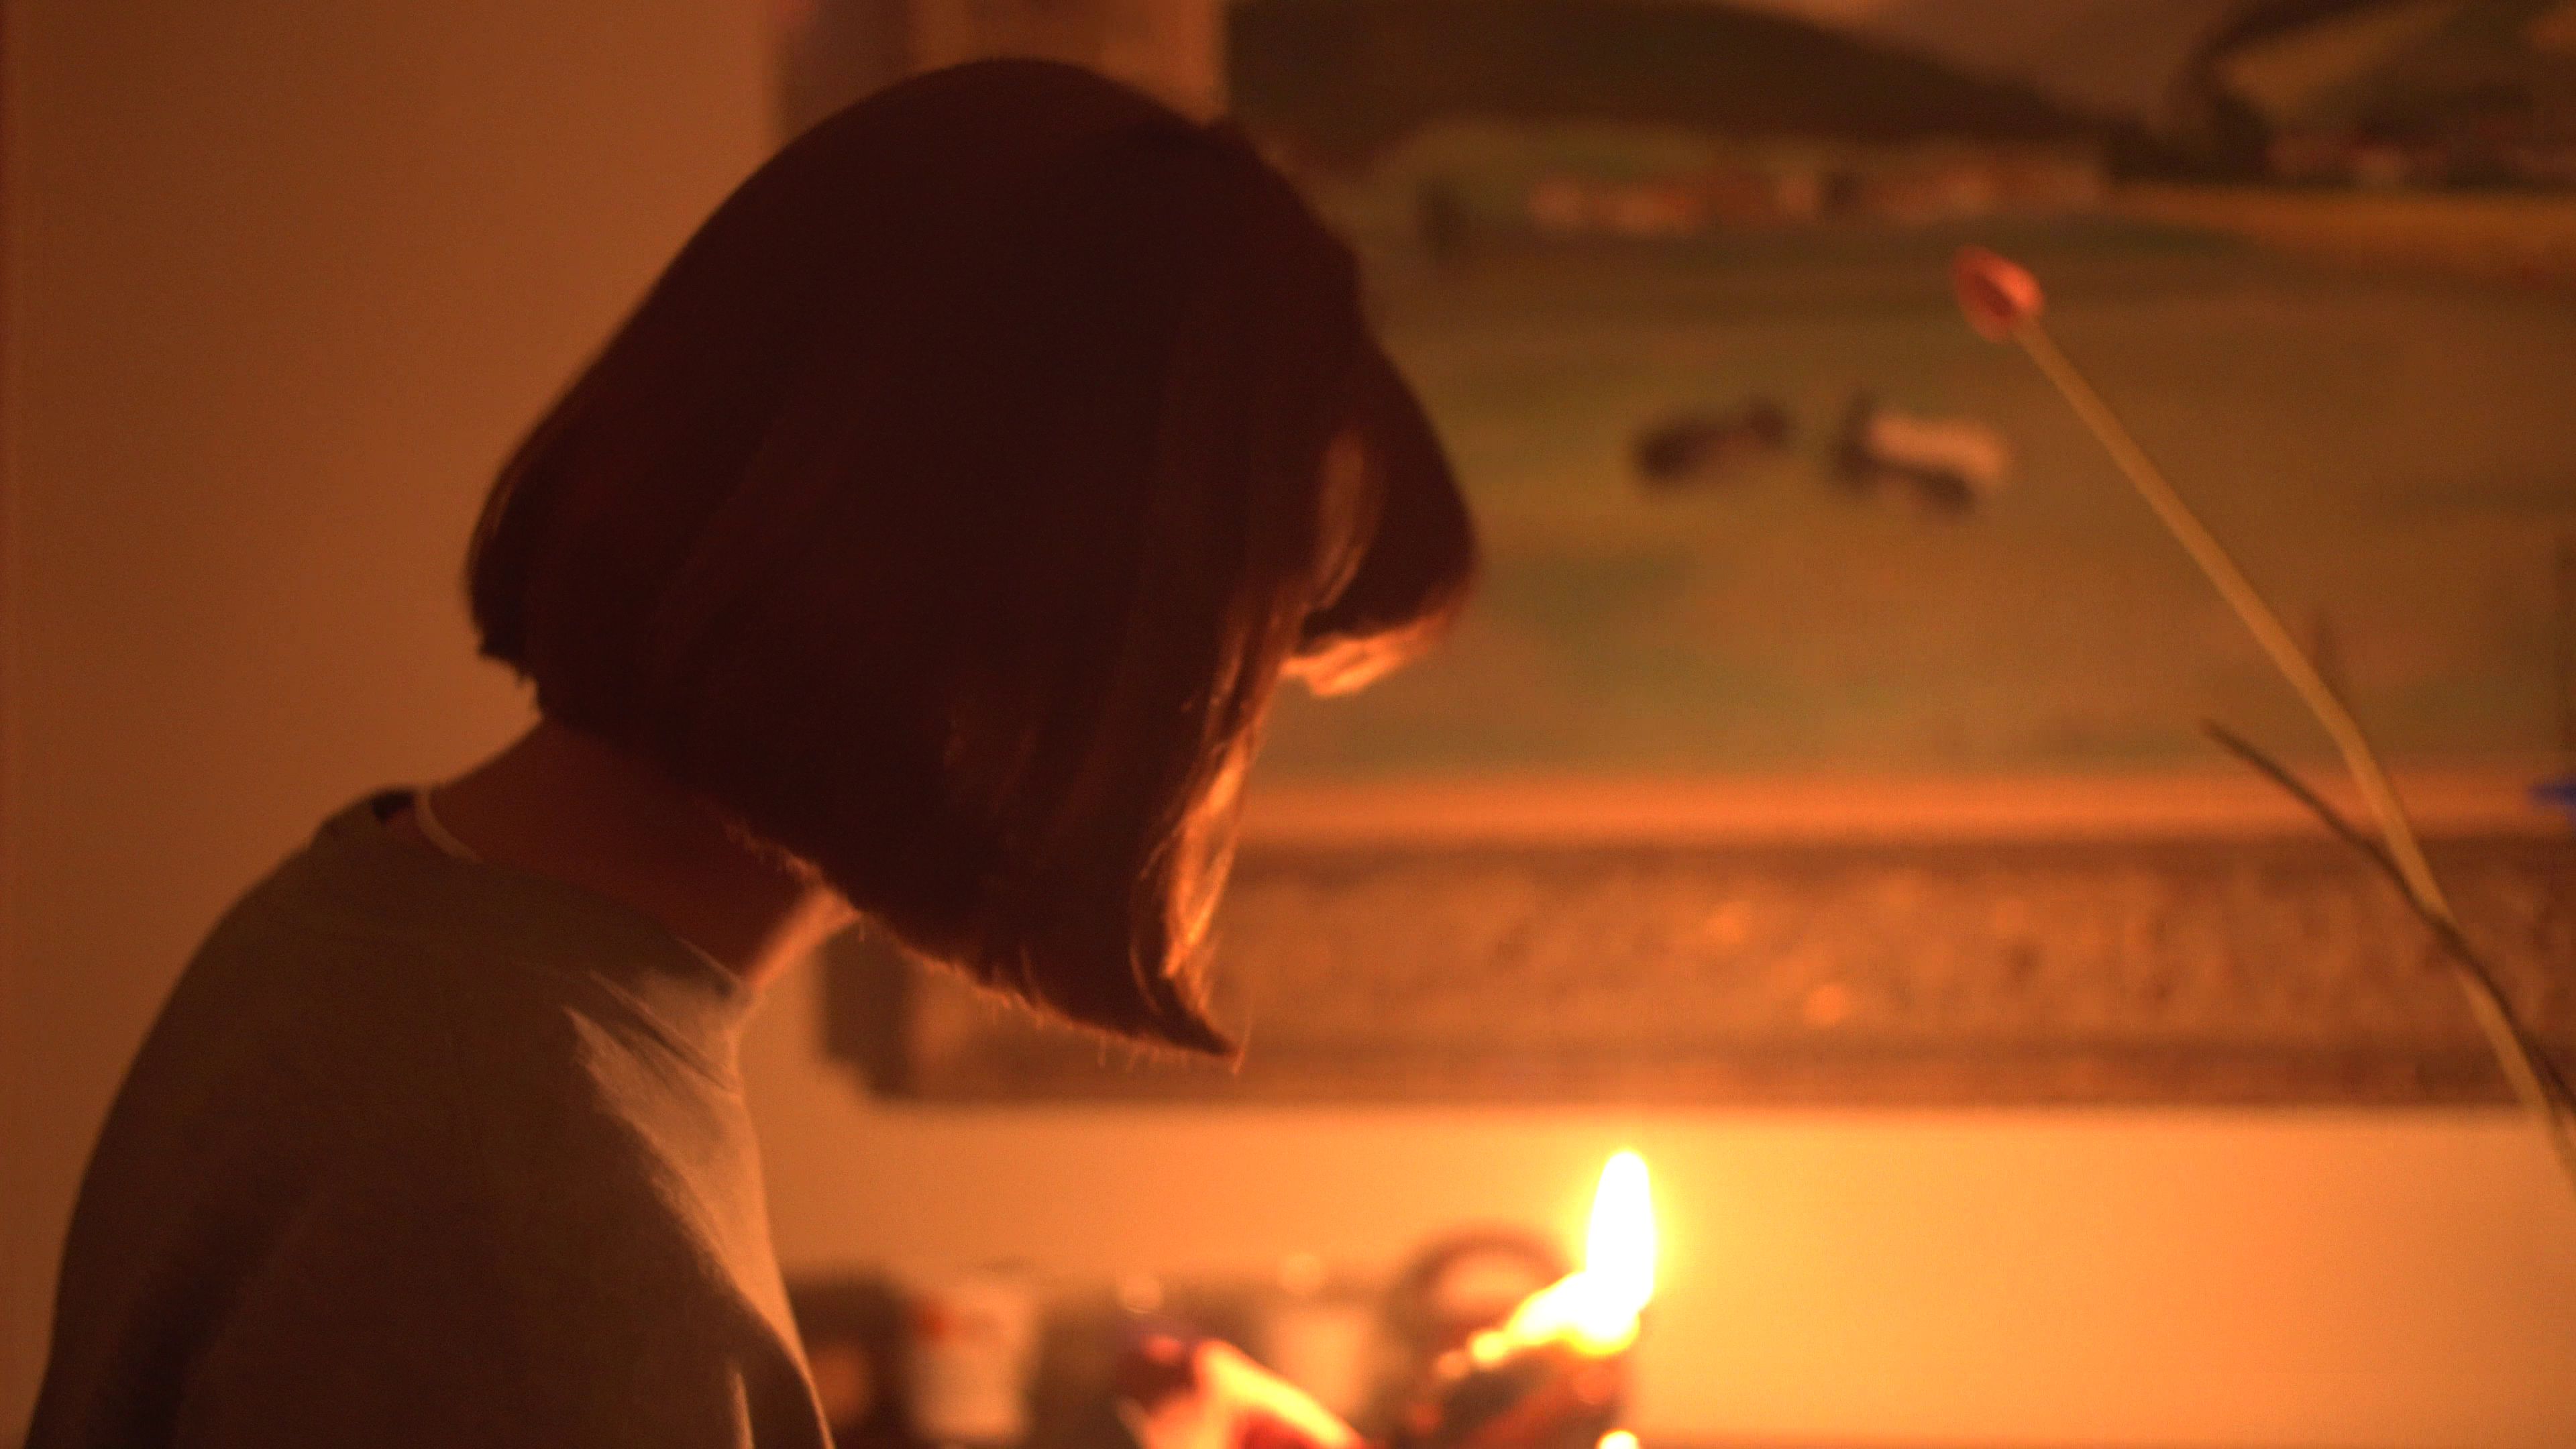
Before post production
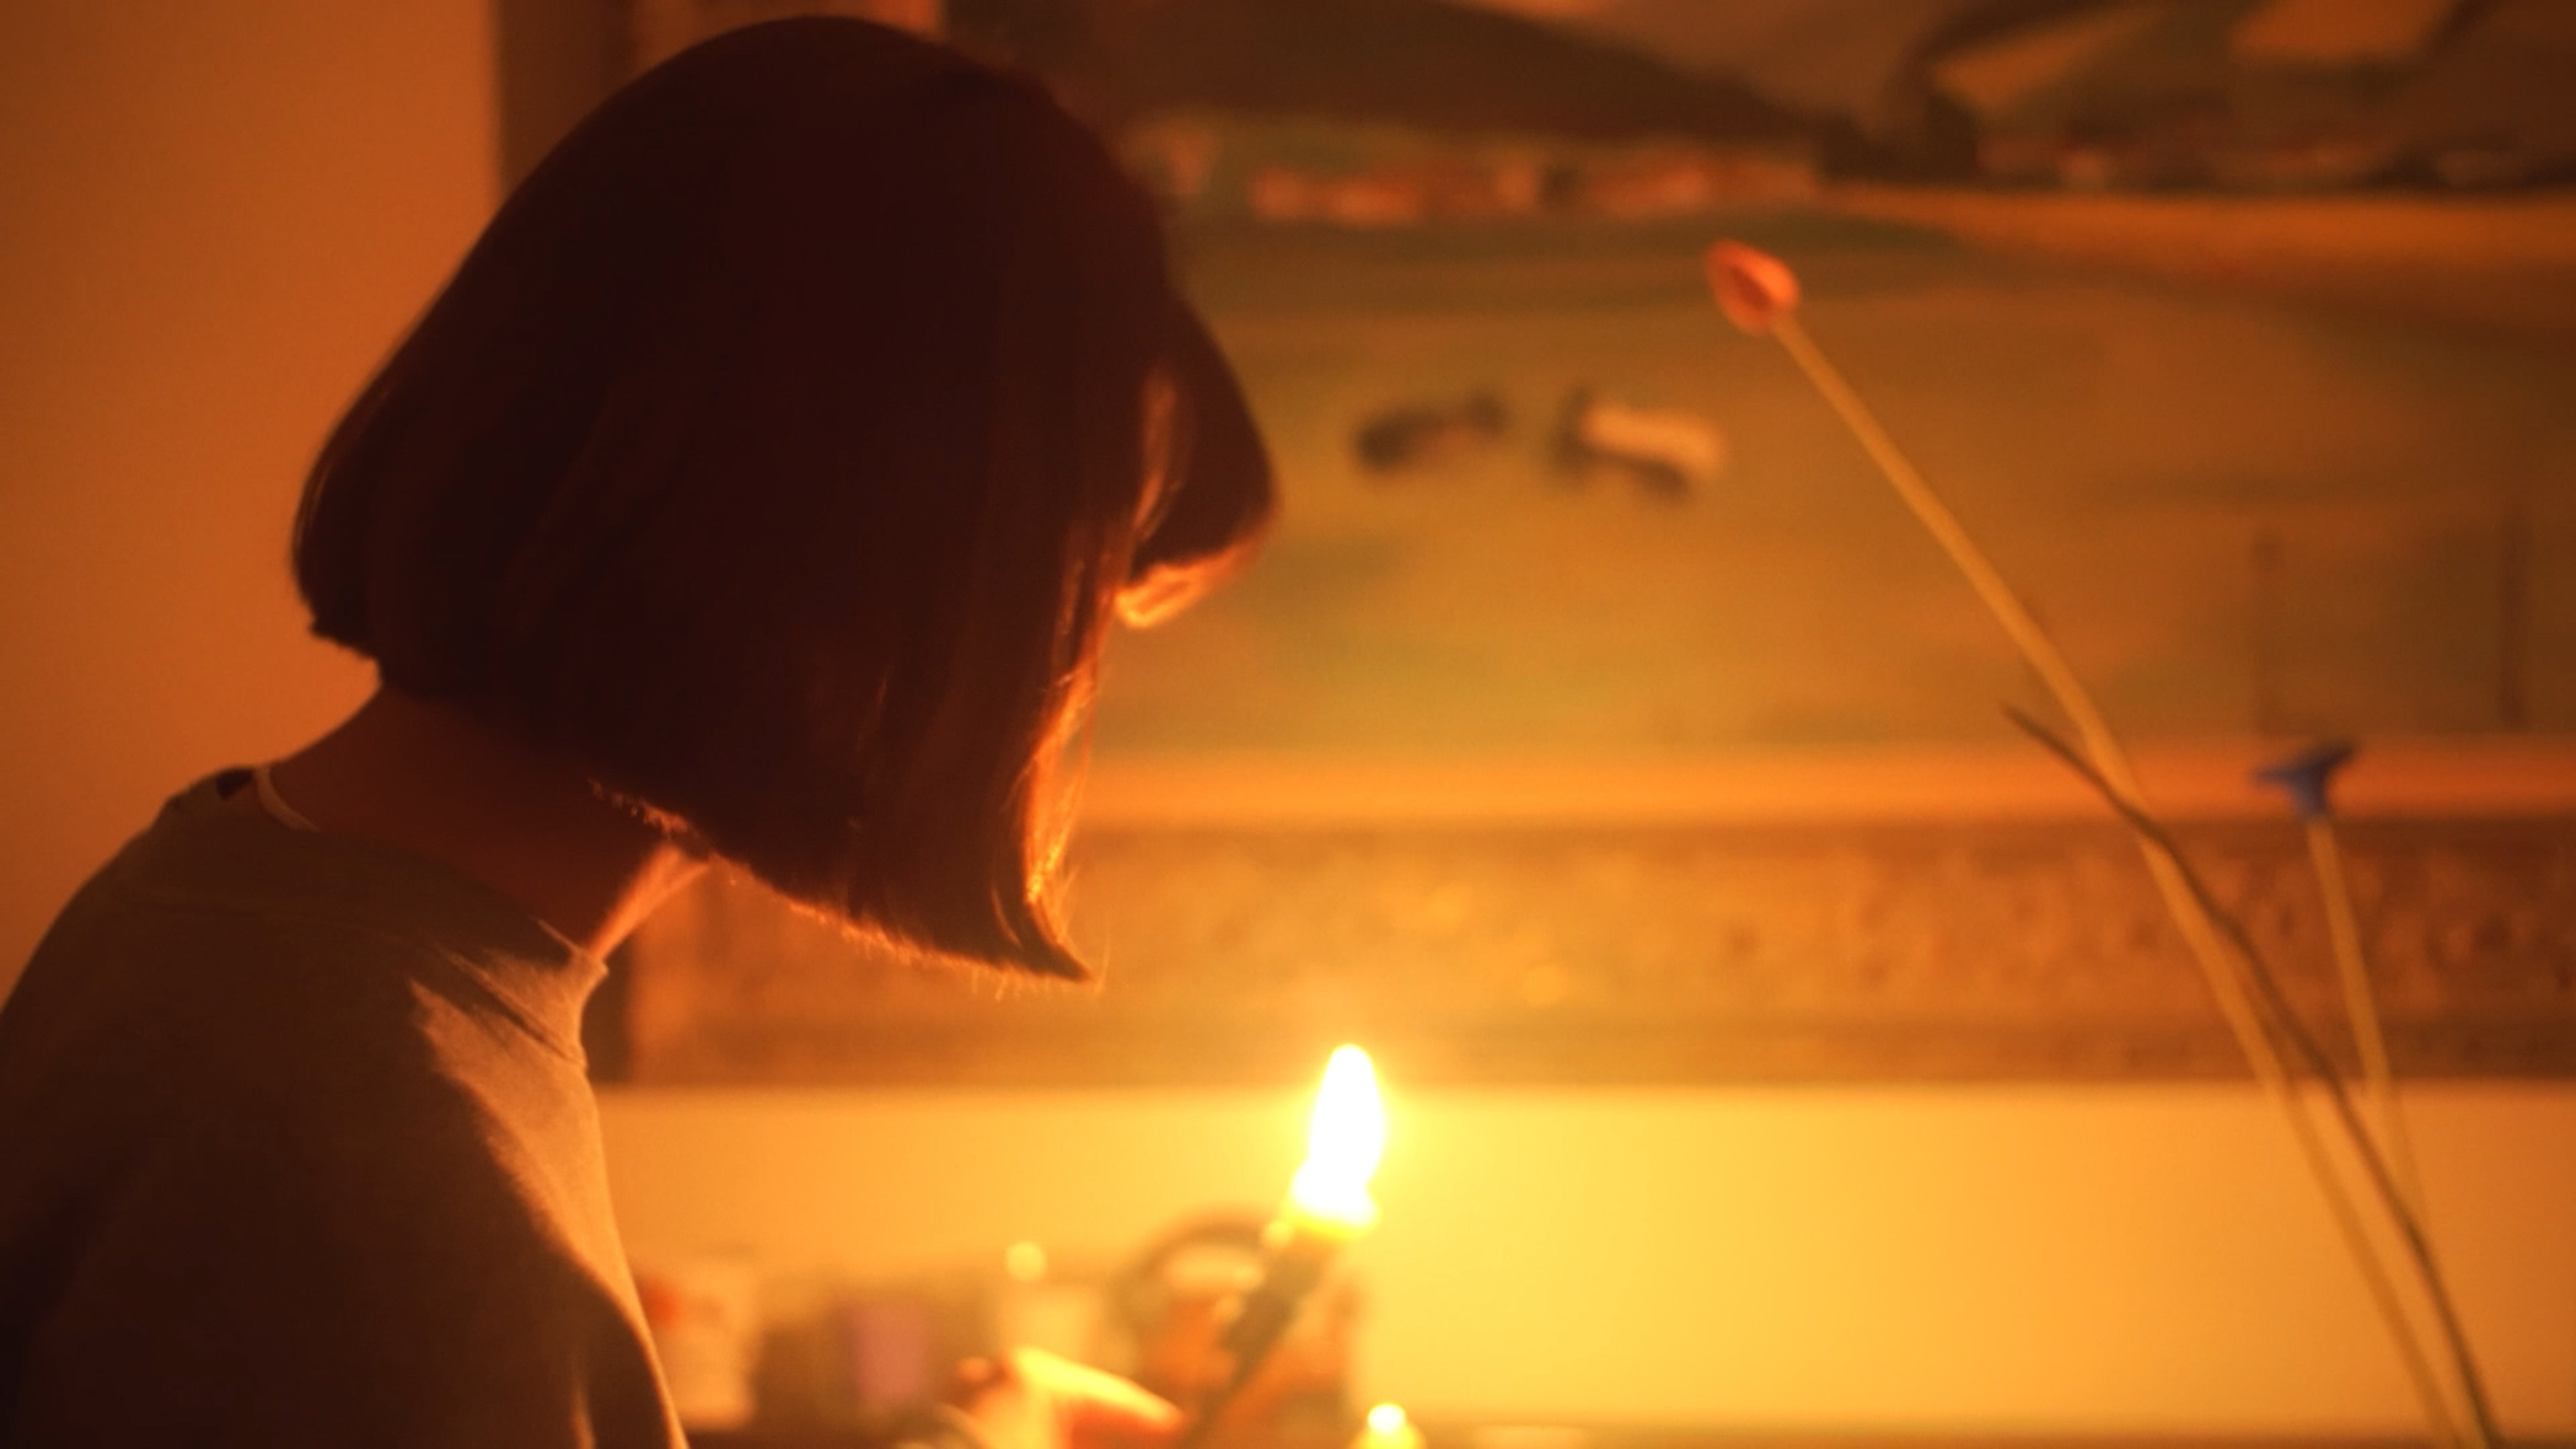
After post production
4. The Shoot
After everything was prepared, it was time to start shooting. We lit up some candles to test the exposure of the new camera setup, which hadn't been tested until now. I was pleasantly surprised by the amount of light present. The homemade candles emitted a significant amount of brightness, and the A7III handled capturing a properly exposed image really well. In fact, I didn't need to push the ISO beyond 6400, which was well below what I considered to be above my comfort zone. I even managed to stop down the lens to around f/2.4, making focusing a bit easier.
Once the camera was set up, we began placing the candles along the path of the actress. We ultimately only required about five or six of my own candles as key lights on the right side of the camera path, along with a few more store-bought candles in the background for rim lighting and decorative accents.
With everything ready, we started filming. The first few takes involved me adjusting the blocking and the actress's actions, but we quickly got the hang of it. In the end, we completed 26 takes, with only one or two of them meeting the required standard. This was mostly due to my own mistakes – sometimes focus, camera movement, or timing were off. Remarkably, the actress never caused any issues, so I extend a big thanks to Fien Lowet for her invaluable assistance on this project!
We only stopped at take 26 because fatigue was setting in; my arms were sore, and we had run out of matches. Ultimately, I selected take 23 for the final video. Although I wanted to keep post-production to a minimum, I decided to sit down with my post-production expert, Chiel Habils. We used Davinci Resolve to apply light noise reduction and a subtle color grade, primarily enhancing the shadows with a touch of blue.
The future
While I'm content with the end result, I would like to revisit this project in the future and make some improvements. First and foremost, I would focus on crafting a more compelling narrative. In this instance, I devised a simple story centred around the candles. For the next iteration, I aim to develop a narrative that not only captivates but also effectively integrates the candles into the storytelling.
Additionally, I intend to consider returning to the Sony FS7 or exploring other cameras with higher bit depth or raw capabilities. This is mainly because the flame tends to be overexposed in the current setup. While not a major concern, I believe it would be truly stunning to showcase all the intricate details of the flame.
Still, I'm genuinely pleased with the outcome, primarily due to the valuable lessons I gained from this modest undertaking. I hope you found the video enjoyable too. Should you have any further questions about this project, please feel free to reach out. Enjoy the video!