Infrared shenanigans
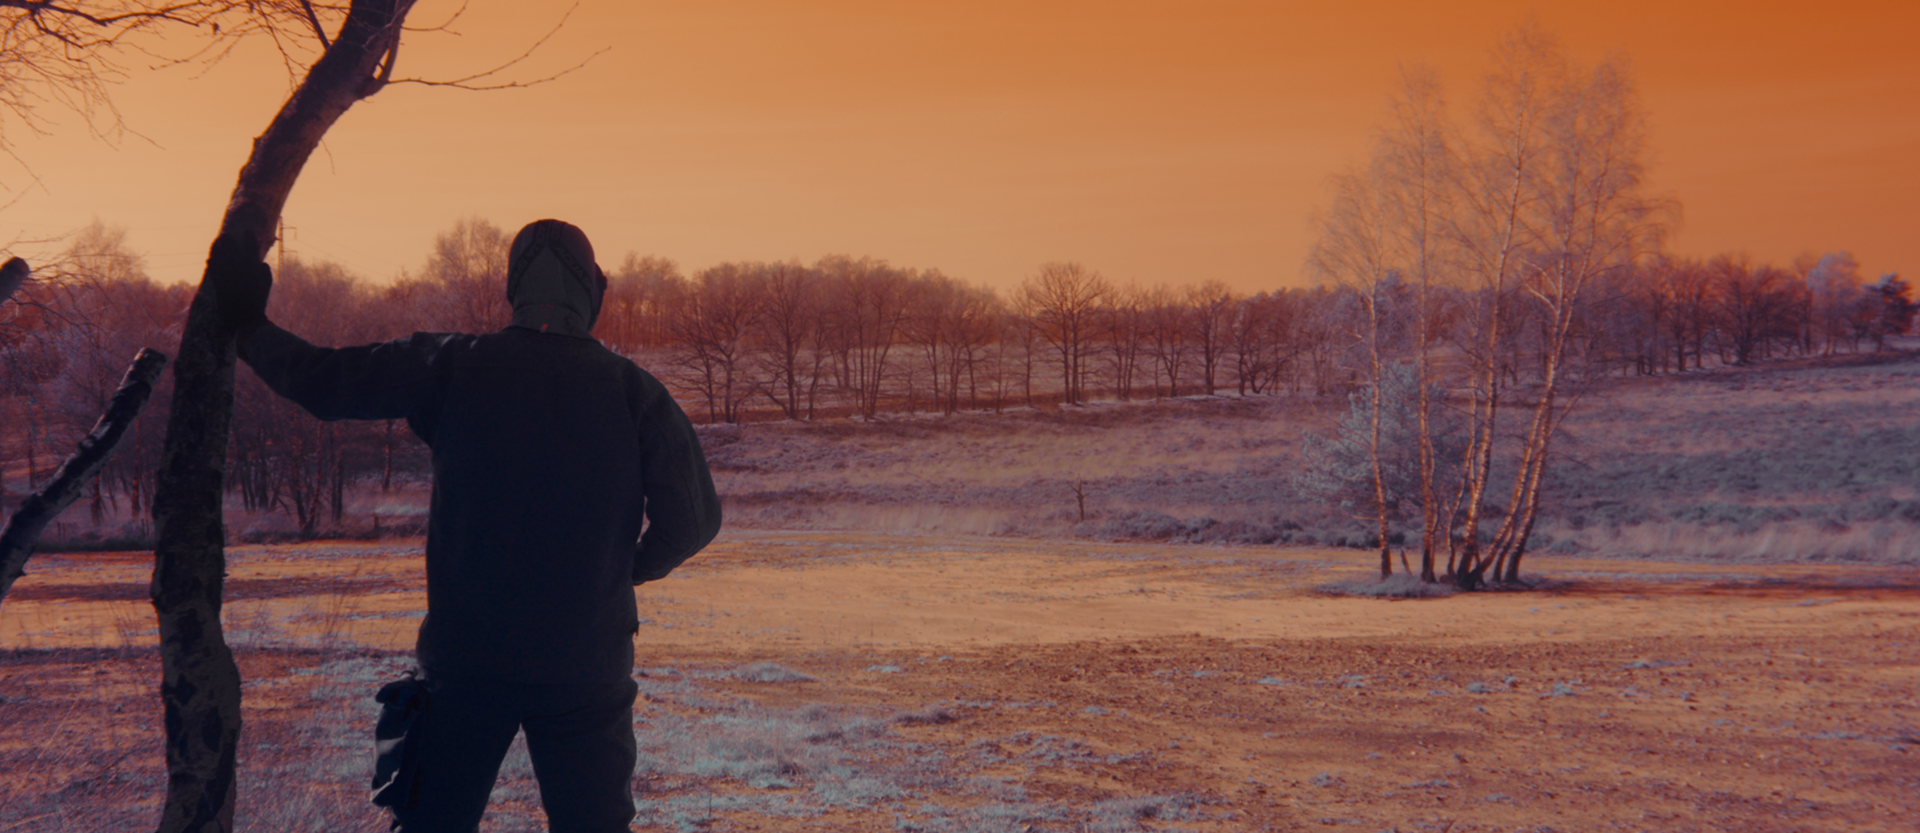
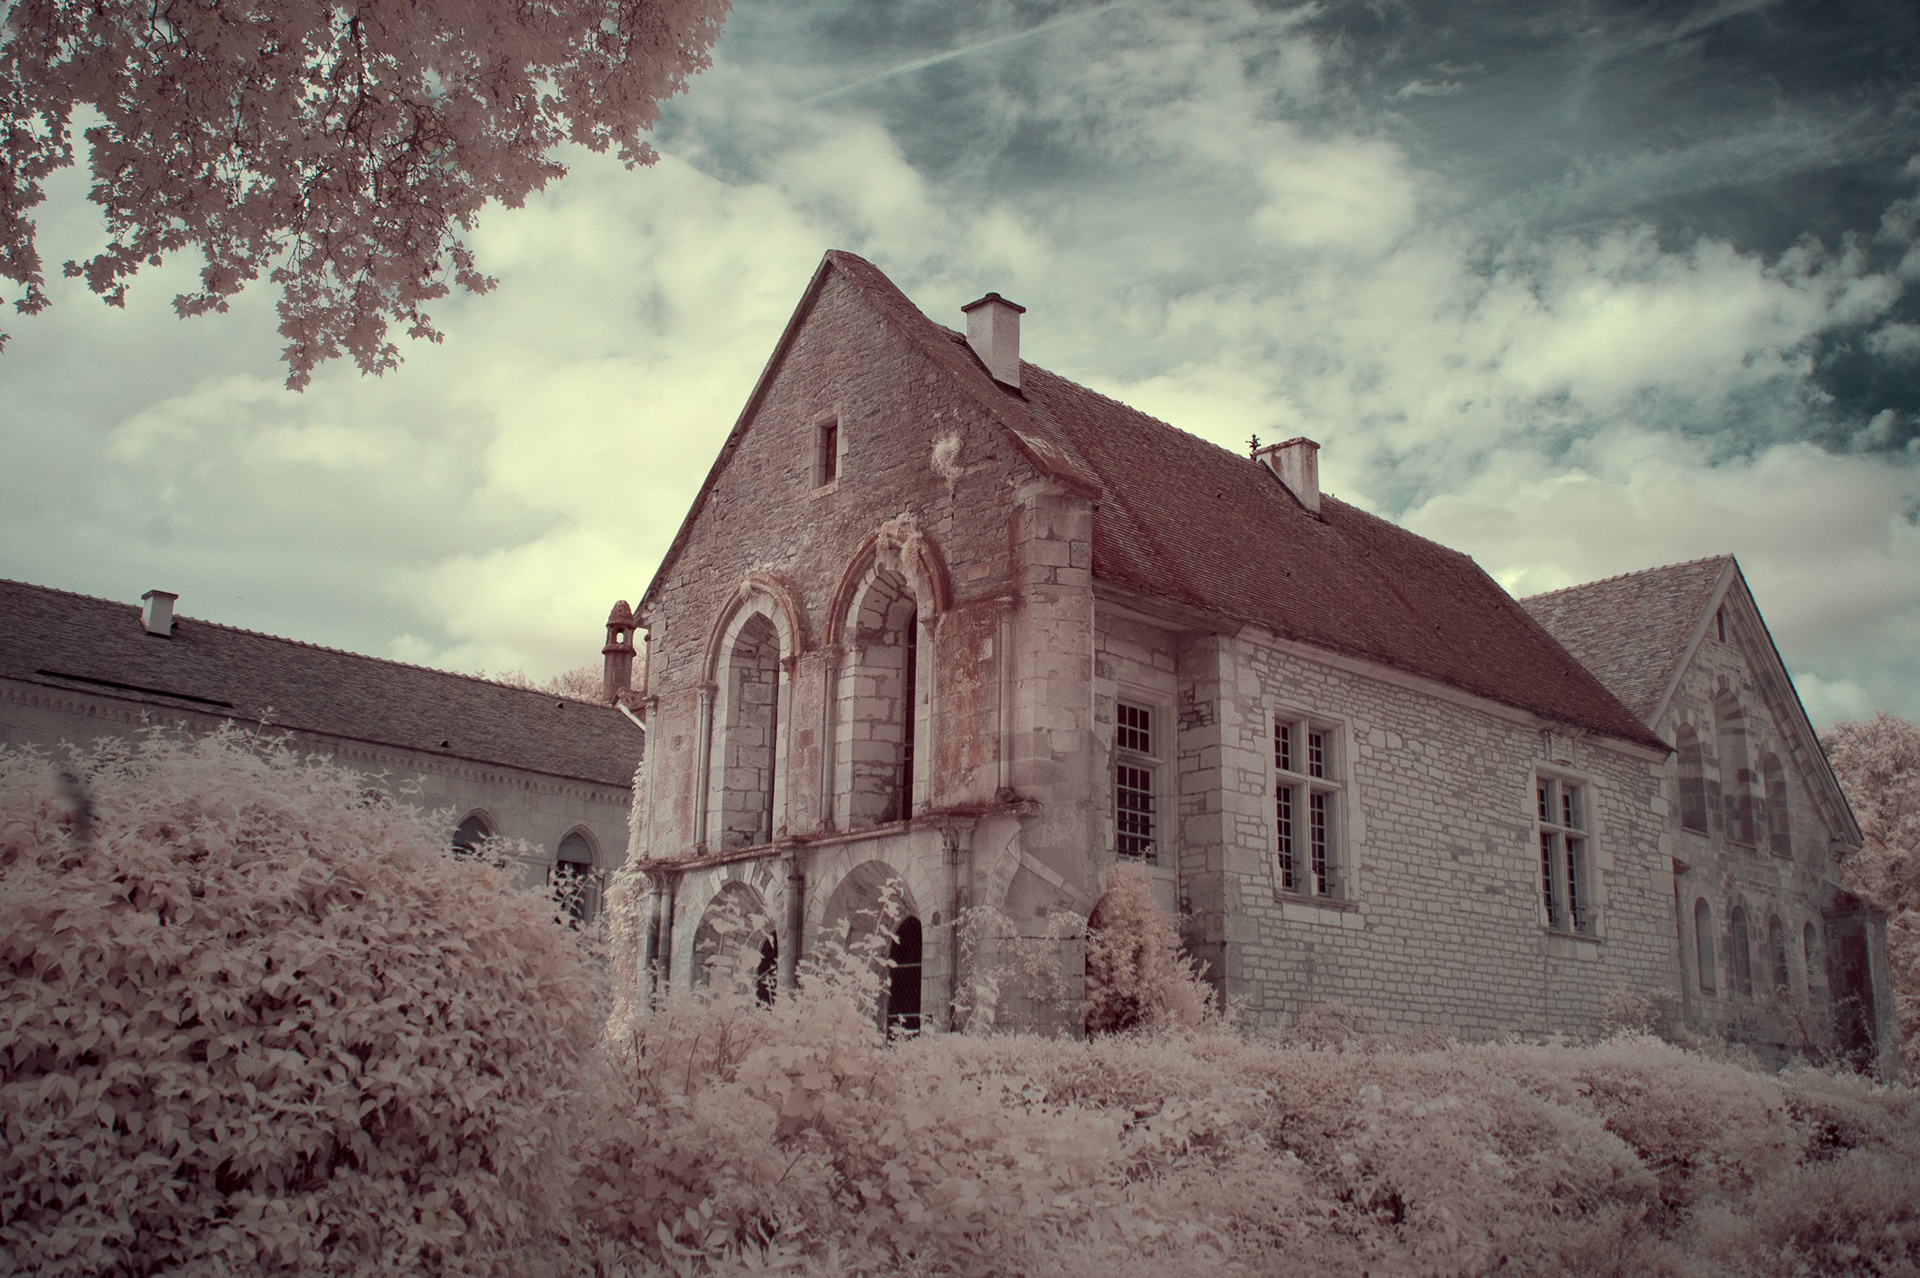
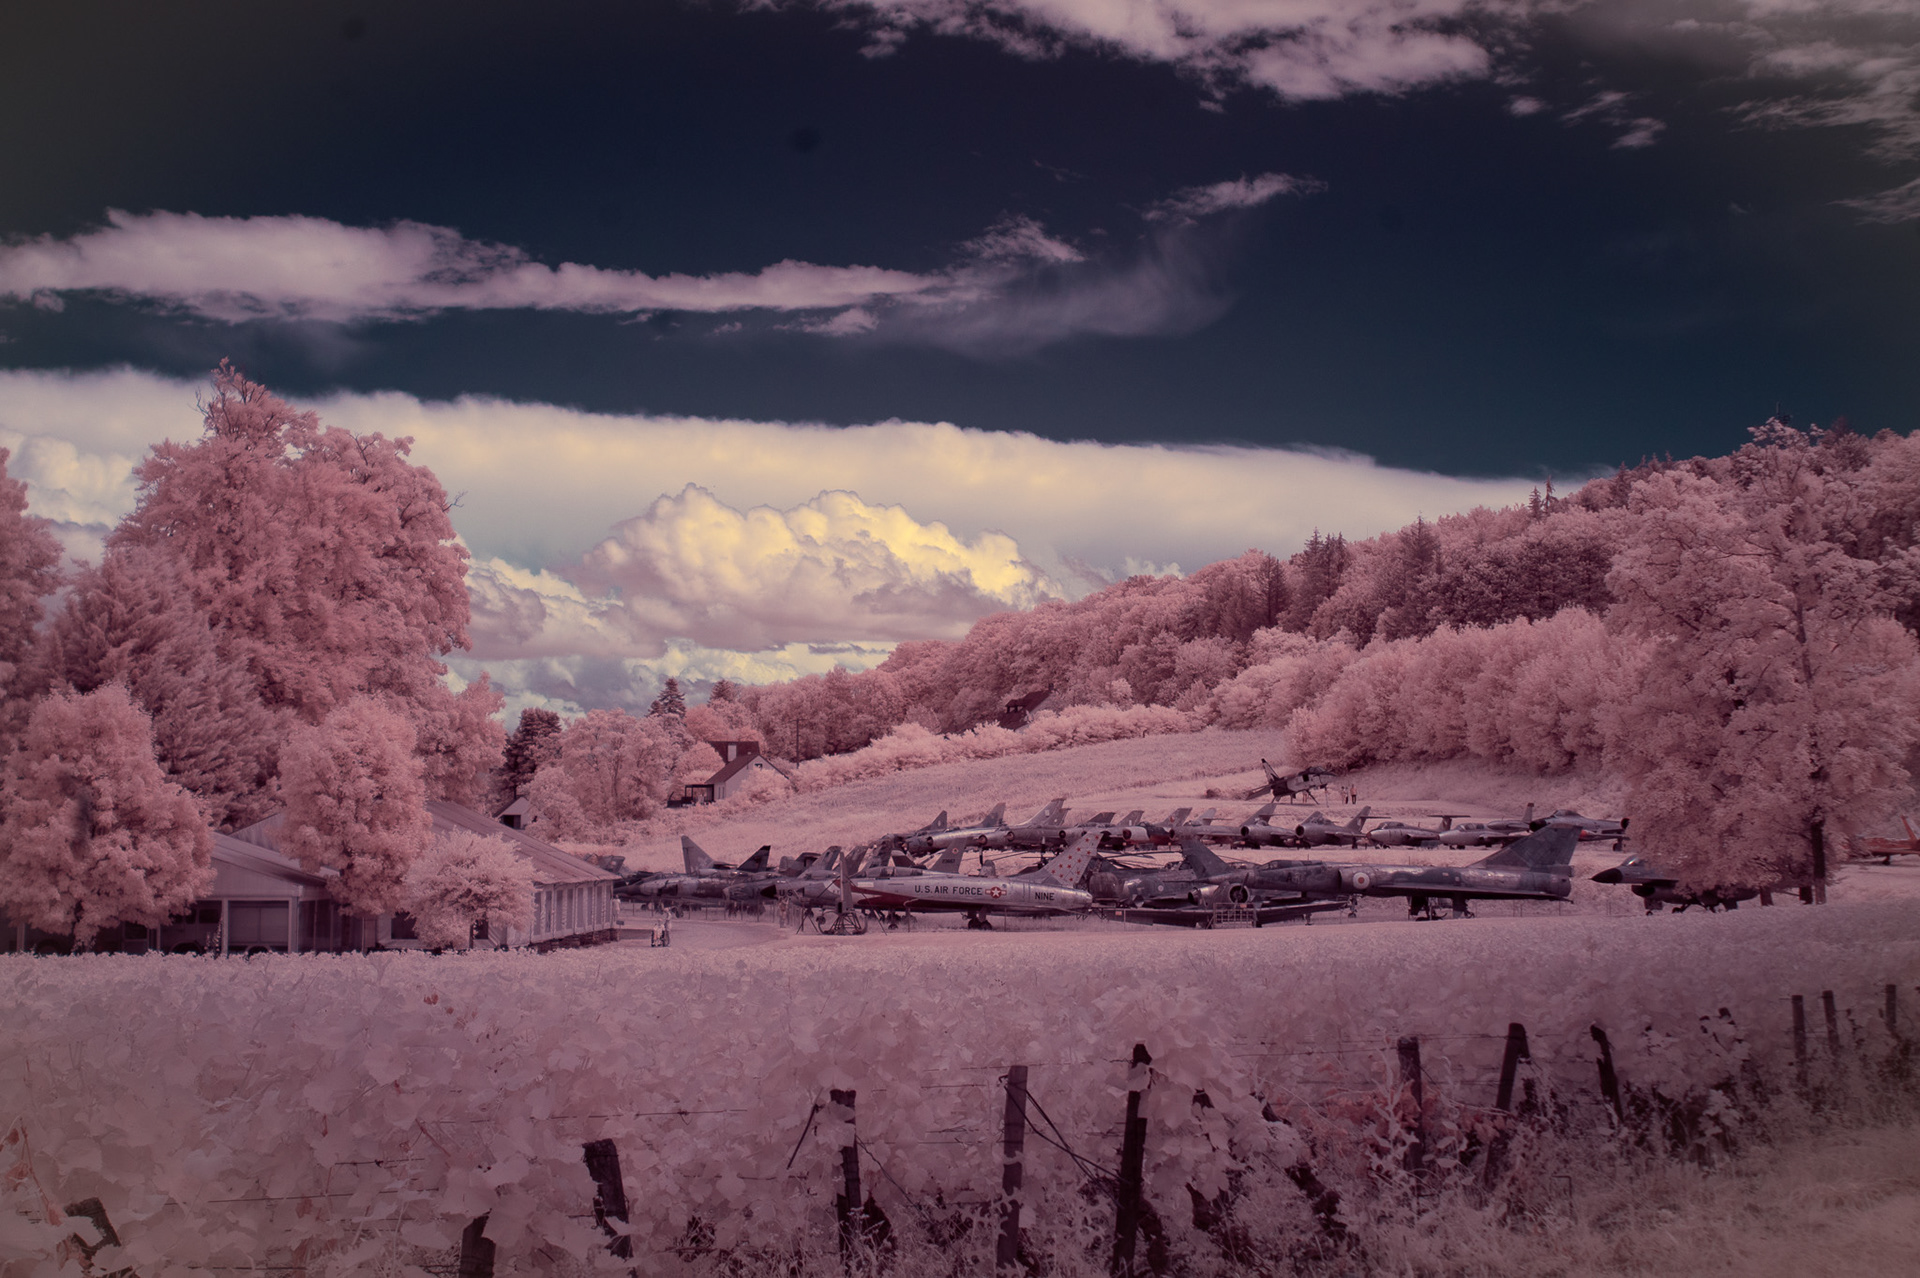
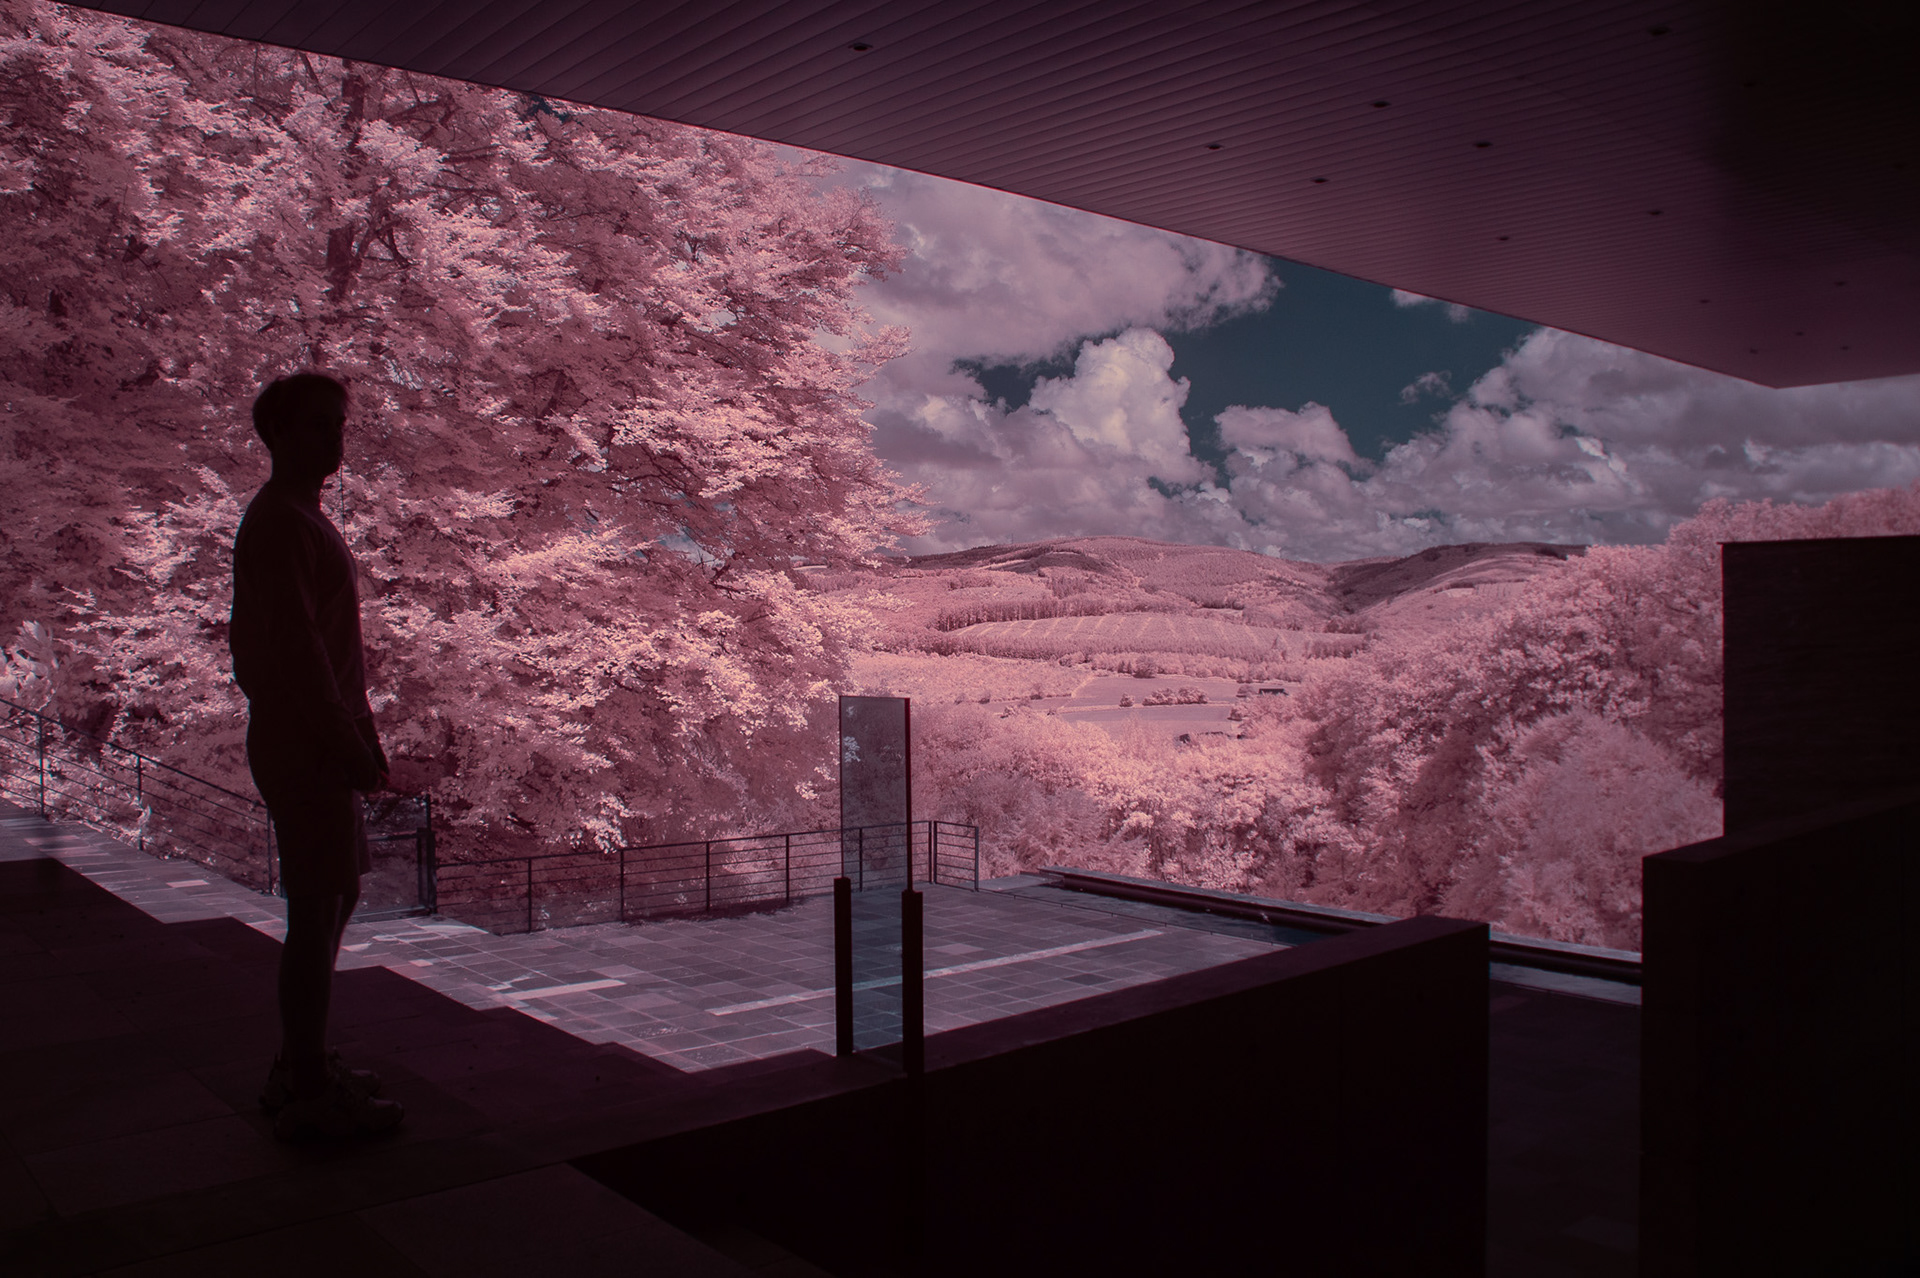
My journey began in the summer of 2024, when I found a cheap, full-spectrum converted Sony Nex 5 on Facebook Marketplace for just 50 euros. I’d been eager to experiment with infrared photography ever since I discovered Richard Mosse’s 2013 video installation The Enclave and was struck by how beautiful and otherworldly infrared images can be.
After receiving the camera, I quickly realised I’d need to spend another €100 on a special filter to get proper infrared images out of it. I also had to 3D print an EF-to-E mount adapter to fit my Canon lenses. Thankfully, I managed to get everything ready just in time for my vacation in France.


After this trip I completely fell in love with Infrared photography and right at the same time my good friend and talented director Chiel Habils approached me with the first ideas for his new short movie Lunaris. While still vague at the time, the story centred around Elias, a biologist working on an alien planet, whose only companion is Iris, an AI assistant. Knowing Chiel’s love for doing bold, unconventional things, it didn’t take much convincing before we both got excited about incorporating infrared imagery into the project.
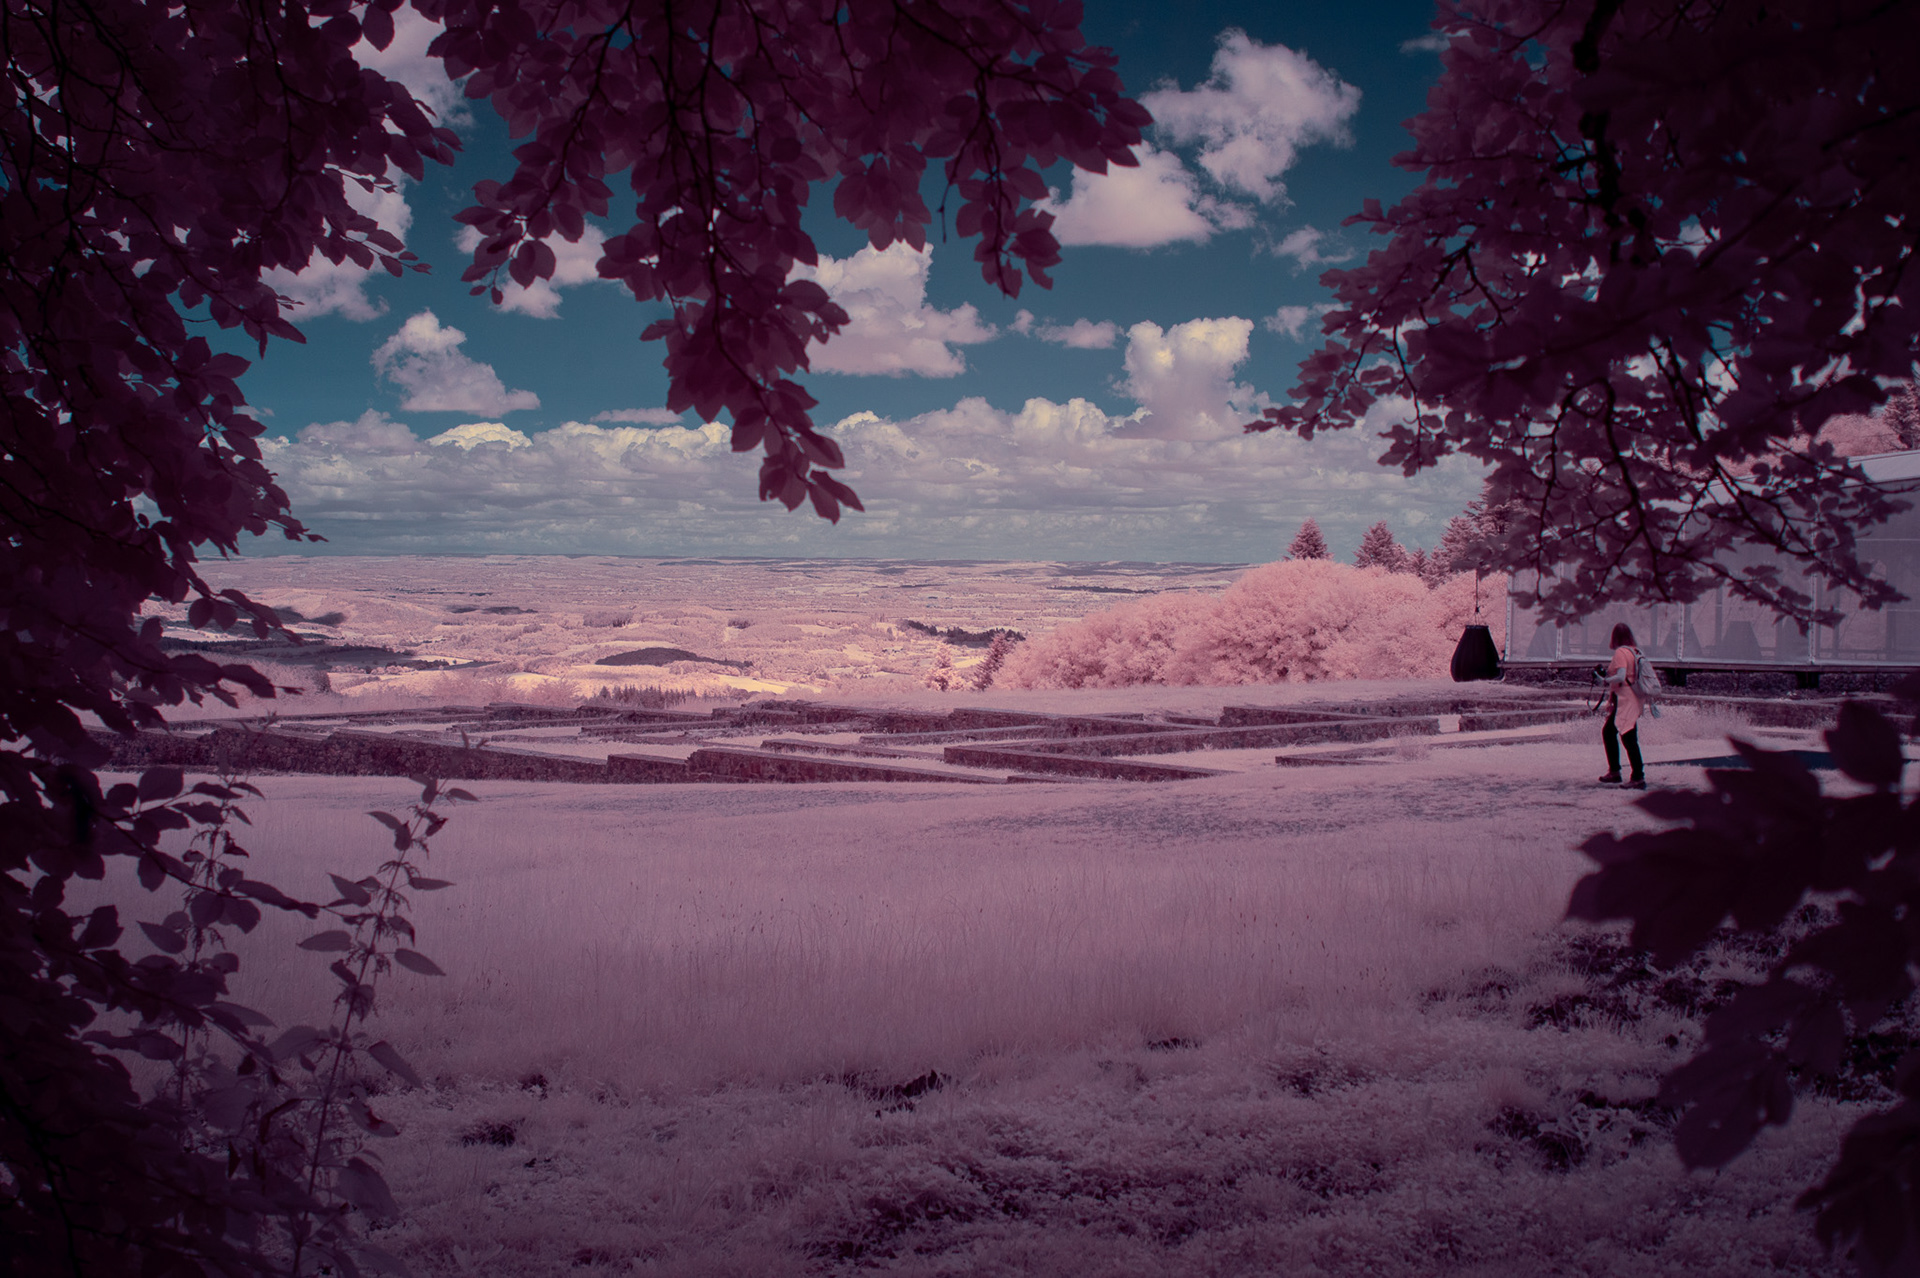
We ended up wanting to shoot the opening scene for the movie in infrared. In this scene Elias picks up a flower he wanted to do further research on. It is a relative short scene, only 5 shots, but we ran into a unique challenge: certain objects, like the flower, appear both in the infrared and in the regular scenes. That meant we had to find a way to keep the colours of these objects consistent across both styles. Since we were using two completely different types of cameras, it wasn’t as simple as fixing it in post.
We ended up shooting the opening scene with two camera's at the same time, filming the same image. This way we could compositing some colours from the normal camera into the infrared image and thus keeping continuity between the scenes. This made the camera rig way more complicated, but I had a great time figuring out how to mount everything.
The setup
The camera
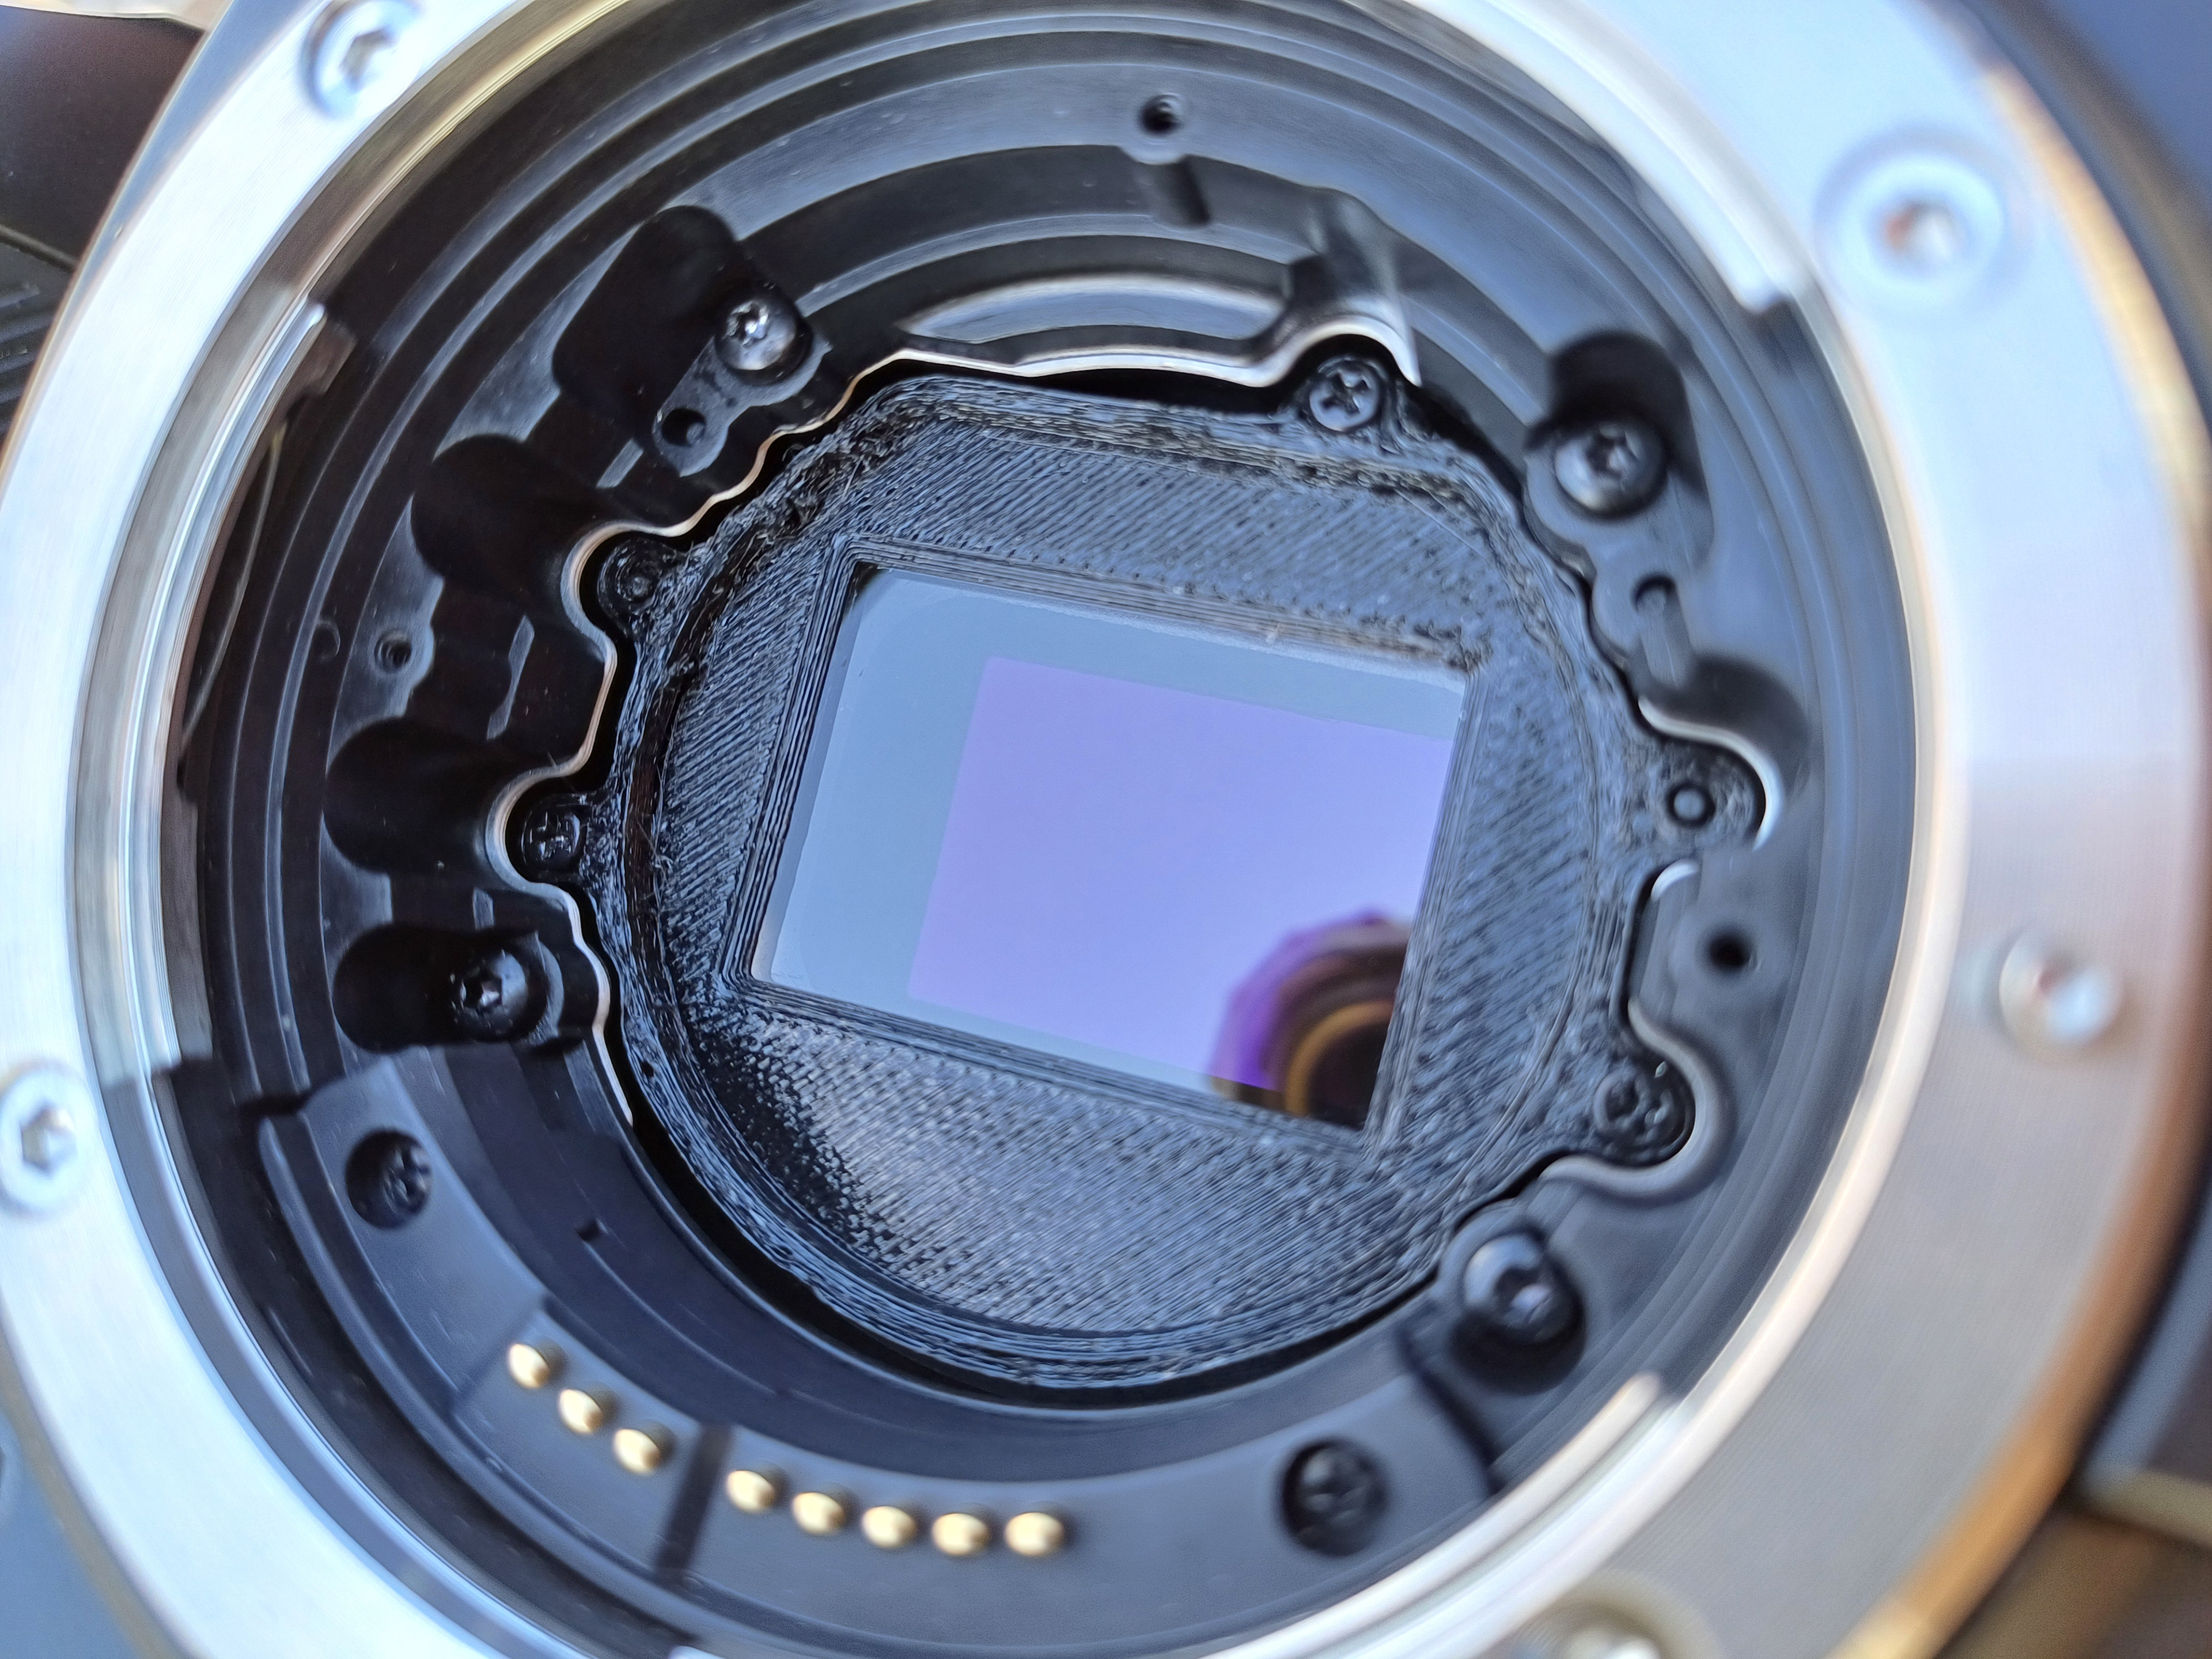
Almost every camera sensor is sensitive to infrared light, In normal operations this is unwanted, so that is why most camera's have a IR blocking filter. This makes it easy for us because all we had to was remove the IR blocking filter and we had a full spectrum camera. However, most sensors have this filter glued onto it, which makes it tricky (and risky) to do it on your own. That is were the Blackmagic Pocket camera comes in. On those models the filter is held in place with just a couple of screws, which make it way more accessible. That is why we ended up choosing the Blackmagic Pocket Cinema Camera 6K Pro for the IR shots.
After removing the IR blocking filter we still had to put back a piece glass the same thickness of the original filter glass in front of the sensor to avoid getting issues with not being able to get a sharp image. This is where our great partner for this project IRreCams stepped in. They wanted to be a part of the project ever since we pitched it to them and we couldn't have done it without there knowledge and support. They made a custom replacement filter for the camera with a custom cut filter piece and 3D printed mount!
For the normal camera we used the RED Komodo since this was the camera we also used for all the other scenes.
The Filter
When shooting with a full-spectrum camera, you can choose from a wide range of filters to achieve the color palette you want. We ended up going with the InfraBlue Filter, kindly provided by IRreCams. Our goal was to create an "eternal dusk" lighting for the interior scenes, and we wanted to motivate this look by starting the film with an opening scene that featured a similarly surreal, orange-hued sky. The InfraBlue Filter not only gave us that vibrant orange sky, but also turned the plants a bright shade of blue, perfect for the alien planet feeling we were aiming for
When I first requested the filter from IRreCams, we were planning to shoot on Samyang prime lenses, mainly because it was easy to source two identical sets. But at the last minute, we decided to switch to Canon zoom lenses for easier alignment between the infrared and regular cameras. Unfortunately, this meant the filter no longer fit. Since the switch was so last-minute, I couldn’t get any step-down rings in time, so we ended up mounting the filter with gaffer tape. Sorry, IRreCams!

Putting everything together
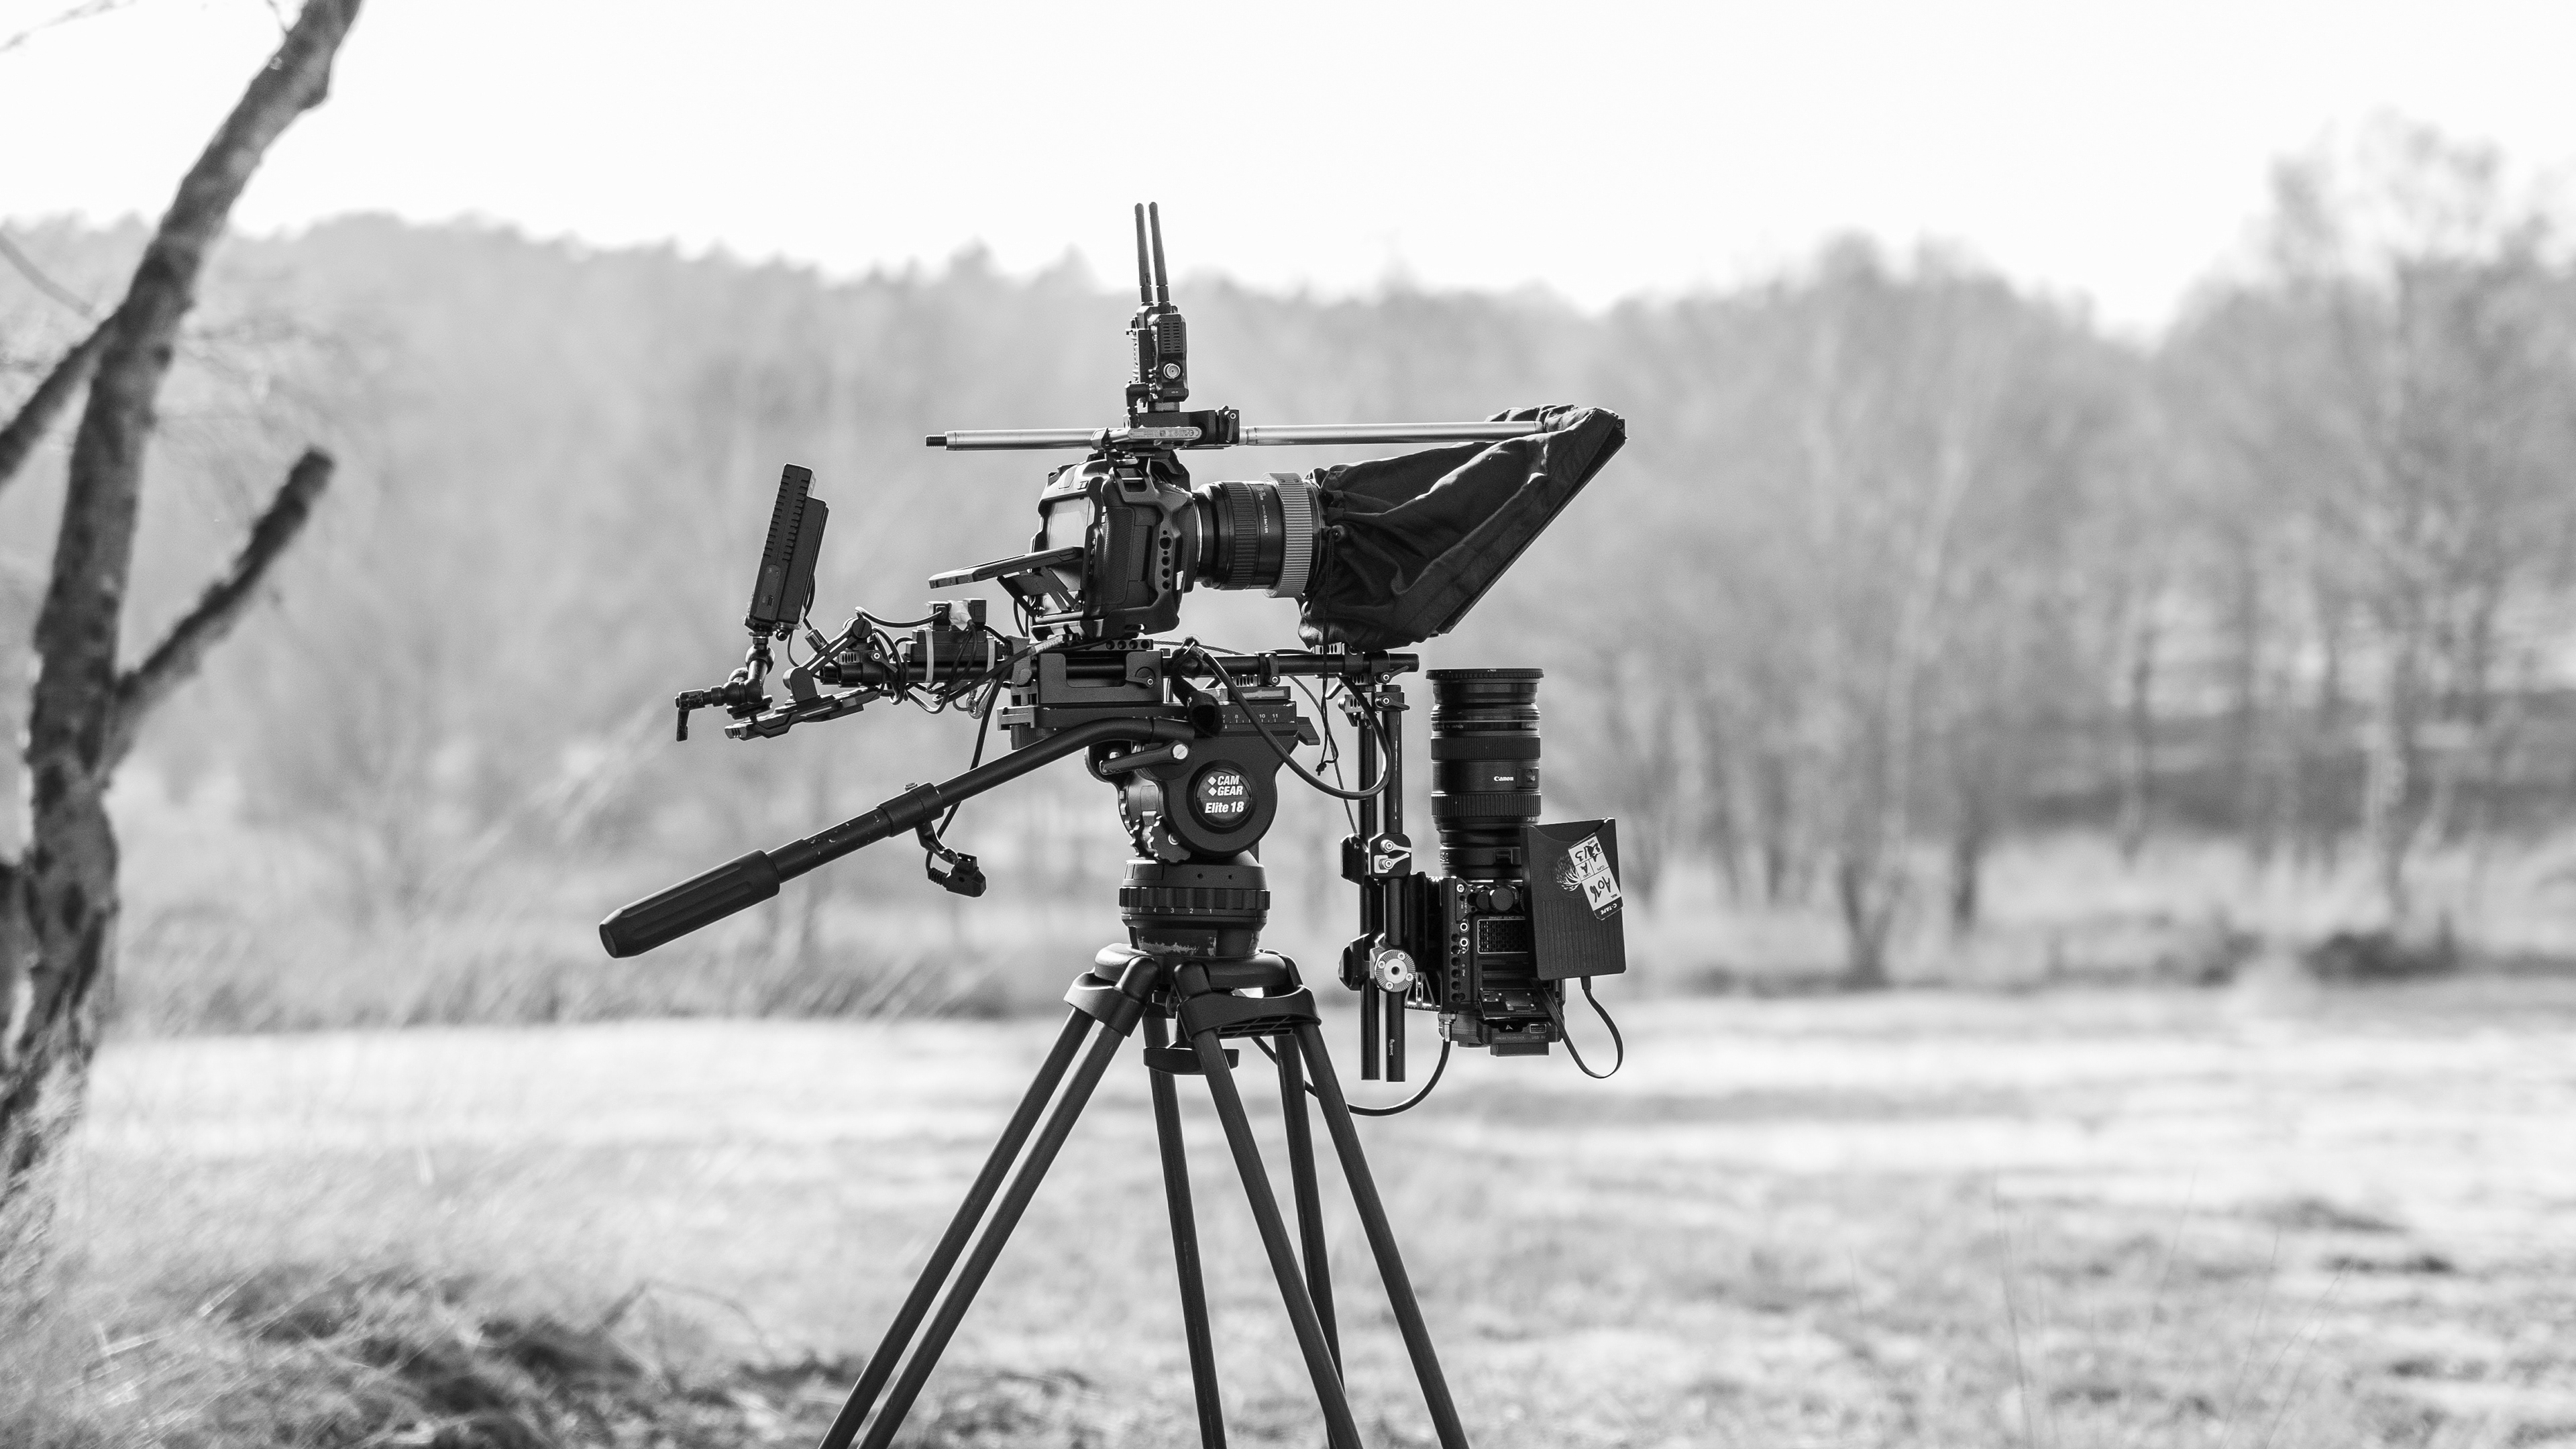
The hardest part of this whole setup was figuring out how to assemble everything using the parts and rigging gear we already had. That’s where my two bright yellow cases, packed with every type of 1/4", 3/8" and other rigging bits really came in handy.
We ended up going with a 15mm rod-based setup, since that allowed us to use standard camera baseplates and rod mounts, making it easier to adjust things across different axes. In an ideal world, we would’ve used 19mm stainless steel rods for a sturdier build, but I didn’t have any lying around, so 15mm it was!
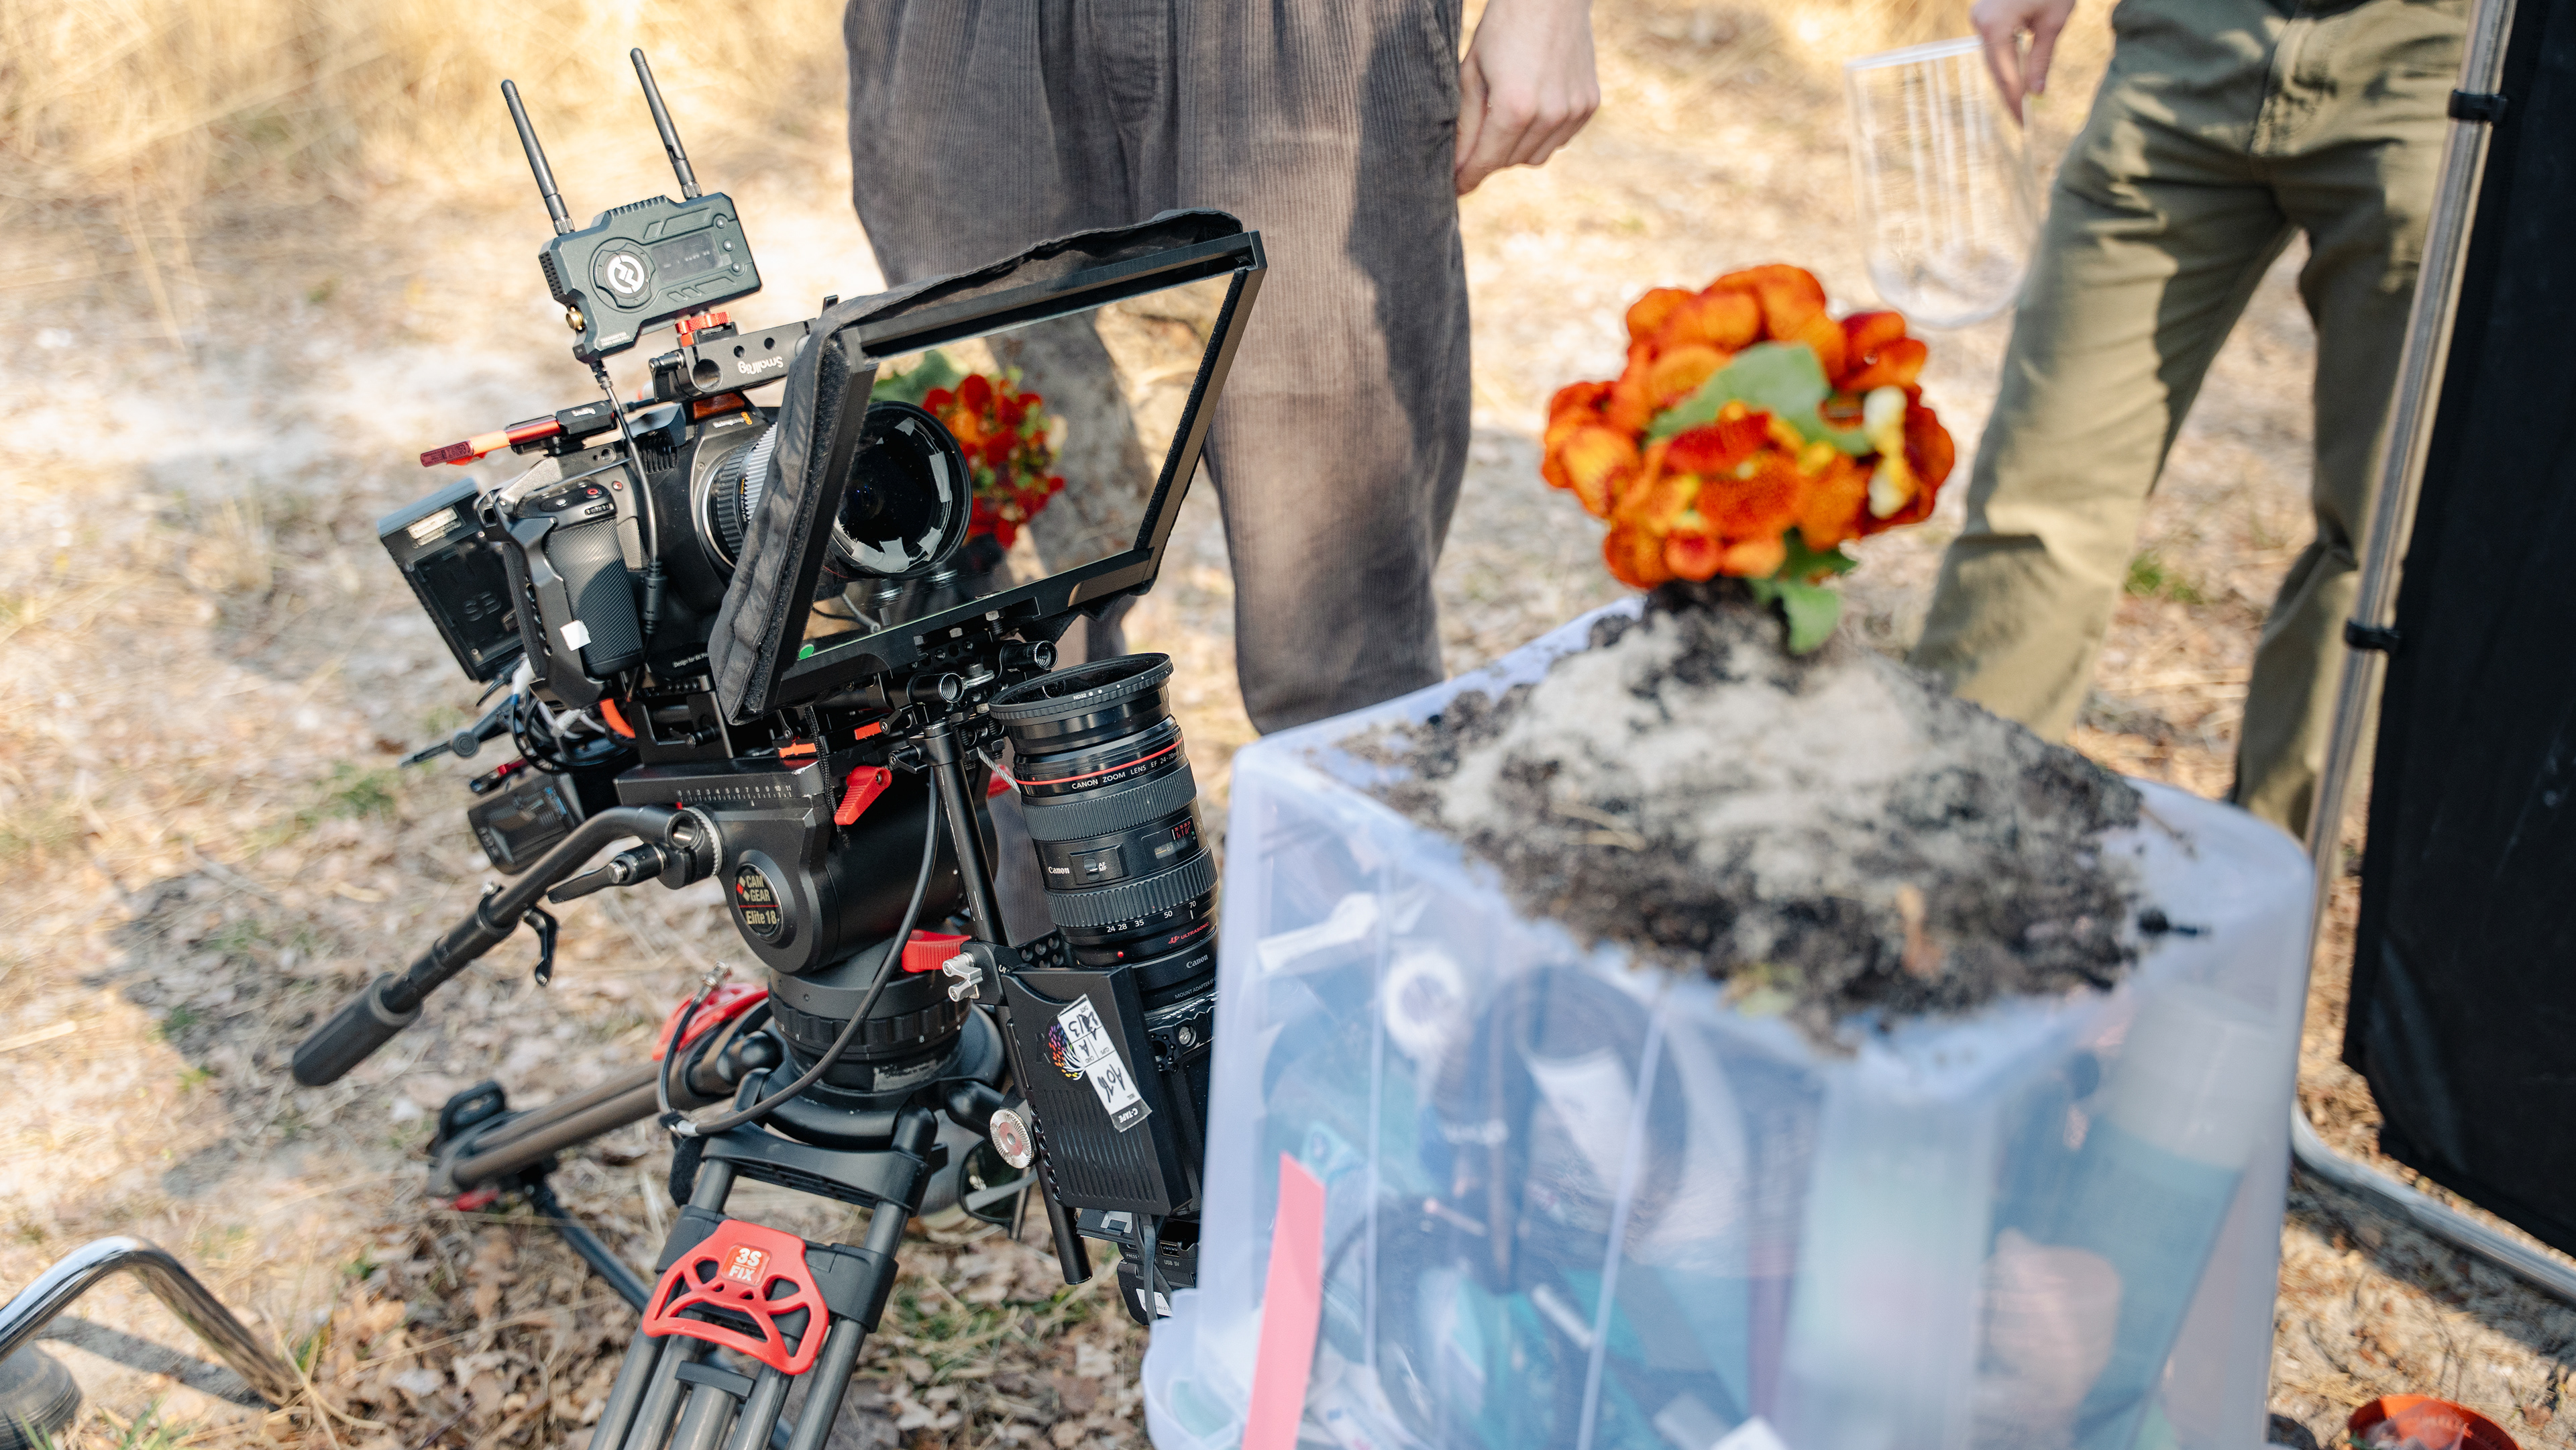
The most challenging part was mounting the half mirror to split the light between the IR camera and the regular one. We repurposed the mirror from a cheap teleprompter and made the holder rod-mountable by sandwiching it between a 15mm rod clamp and a cheese plate.
During testing, we discovered that the mirror mount wasn’t set at a perfect 45° angle, which made alignment impossible. I started looking into all sorts of precise ways to fix it, but in the end, the simplest and most satisfying solution was just to push the mirror into the correct position using a 15mm rod mounted to the top of the camera. Easily my favourite part of the rig.
Monitoring
Figuring out how to mount everything was perhaps the most difficult, but the most overly complicated stuff was figuring out how to monitor everything on one easily moveable C-stand.
The first problem we encountered was that the Red Komodo shot the image coming from the mirror which caused the image to be mirrored. To flip the image back we put a Decimator inline with the video signal. After flipping the Image we also wanted to make a simple composite of the two images on set and it turned out that the easiest solution was bringing the two streams of the camera into a Blackmagic Atem Mini switcher. This made it really easy to align the camera's but also made for easy switching between the camera views for the director.

Aligning
Getting perfect alignment between the two cameras was absolutely crucial for making the compositing work and it was the part I was most worried about. I thought we’d be spending 30 minutes per shot just trying to line everything up. But somehow, it all worked way better (and faster) than expected, we usually only needed 5 to 10 minutes!
To get everything properly aligned, we had to manage six different axes:
1. Komodo Up Down on its rods
2. Komodo In Out on the main rods
3. Komodo Zoom
4. Blackmagic Zoom
5. Blackmagic rotation on its axis (that is why it was only attached with one screw to its baseplate)
6. Mirror pusher In Out
The Shoot
As I already said, I excepted it to be quite a difficult and time consuming rig to use, but when actually using it it was surprisingly production ready and easy to use. We ended up shooting more shots then planned because it was so quick to setup.
But while it was really fun and efficient to use, it still had some limitations. The first being that you couldn't tilt down that much with the Komodo on the bottom, which made it difficult (but achievable with the tripod legs spread out far) to achieve over the shoulder shots with the flower. The same goes with having the camera close to the ground, the Komodo sticks out quite a lot to at the bottom, so you can't go extremely low. But apart from a few small limitations, it was quite practical, we even managed to balance the tripod head by using a heavy battery at the opposite end of the rig.
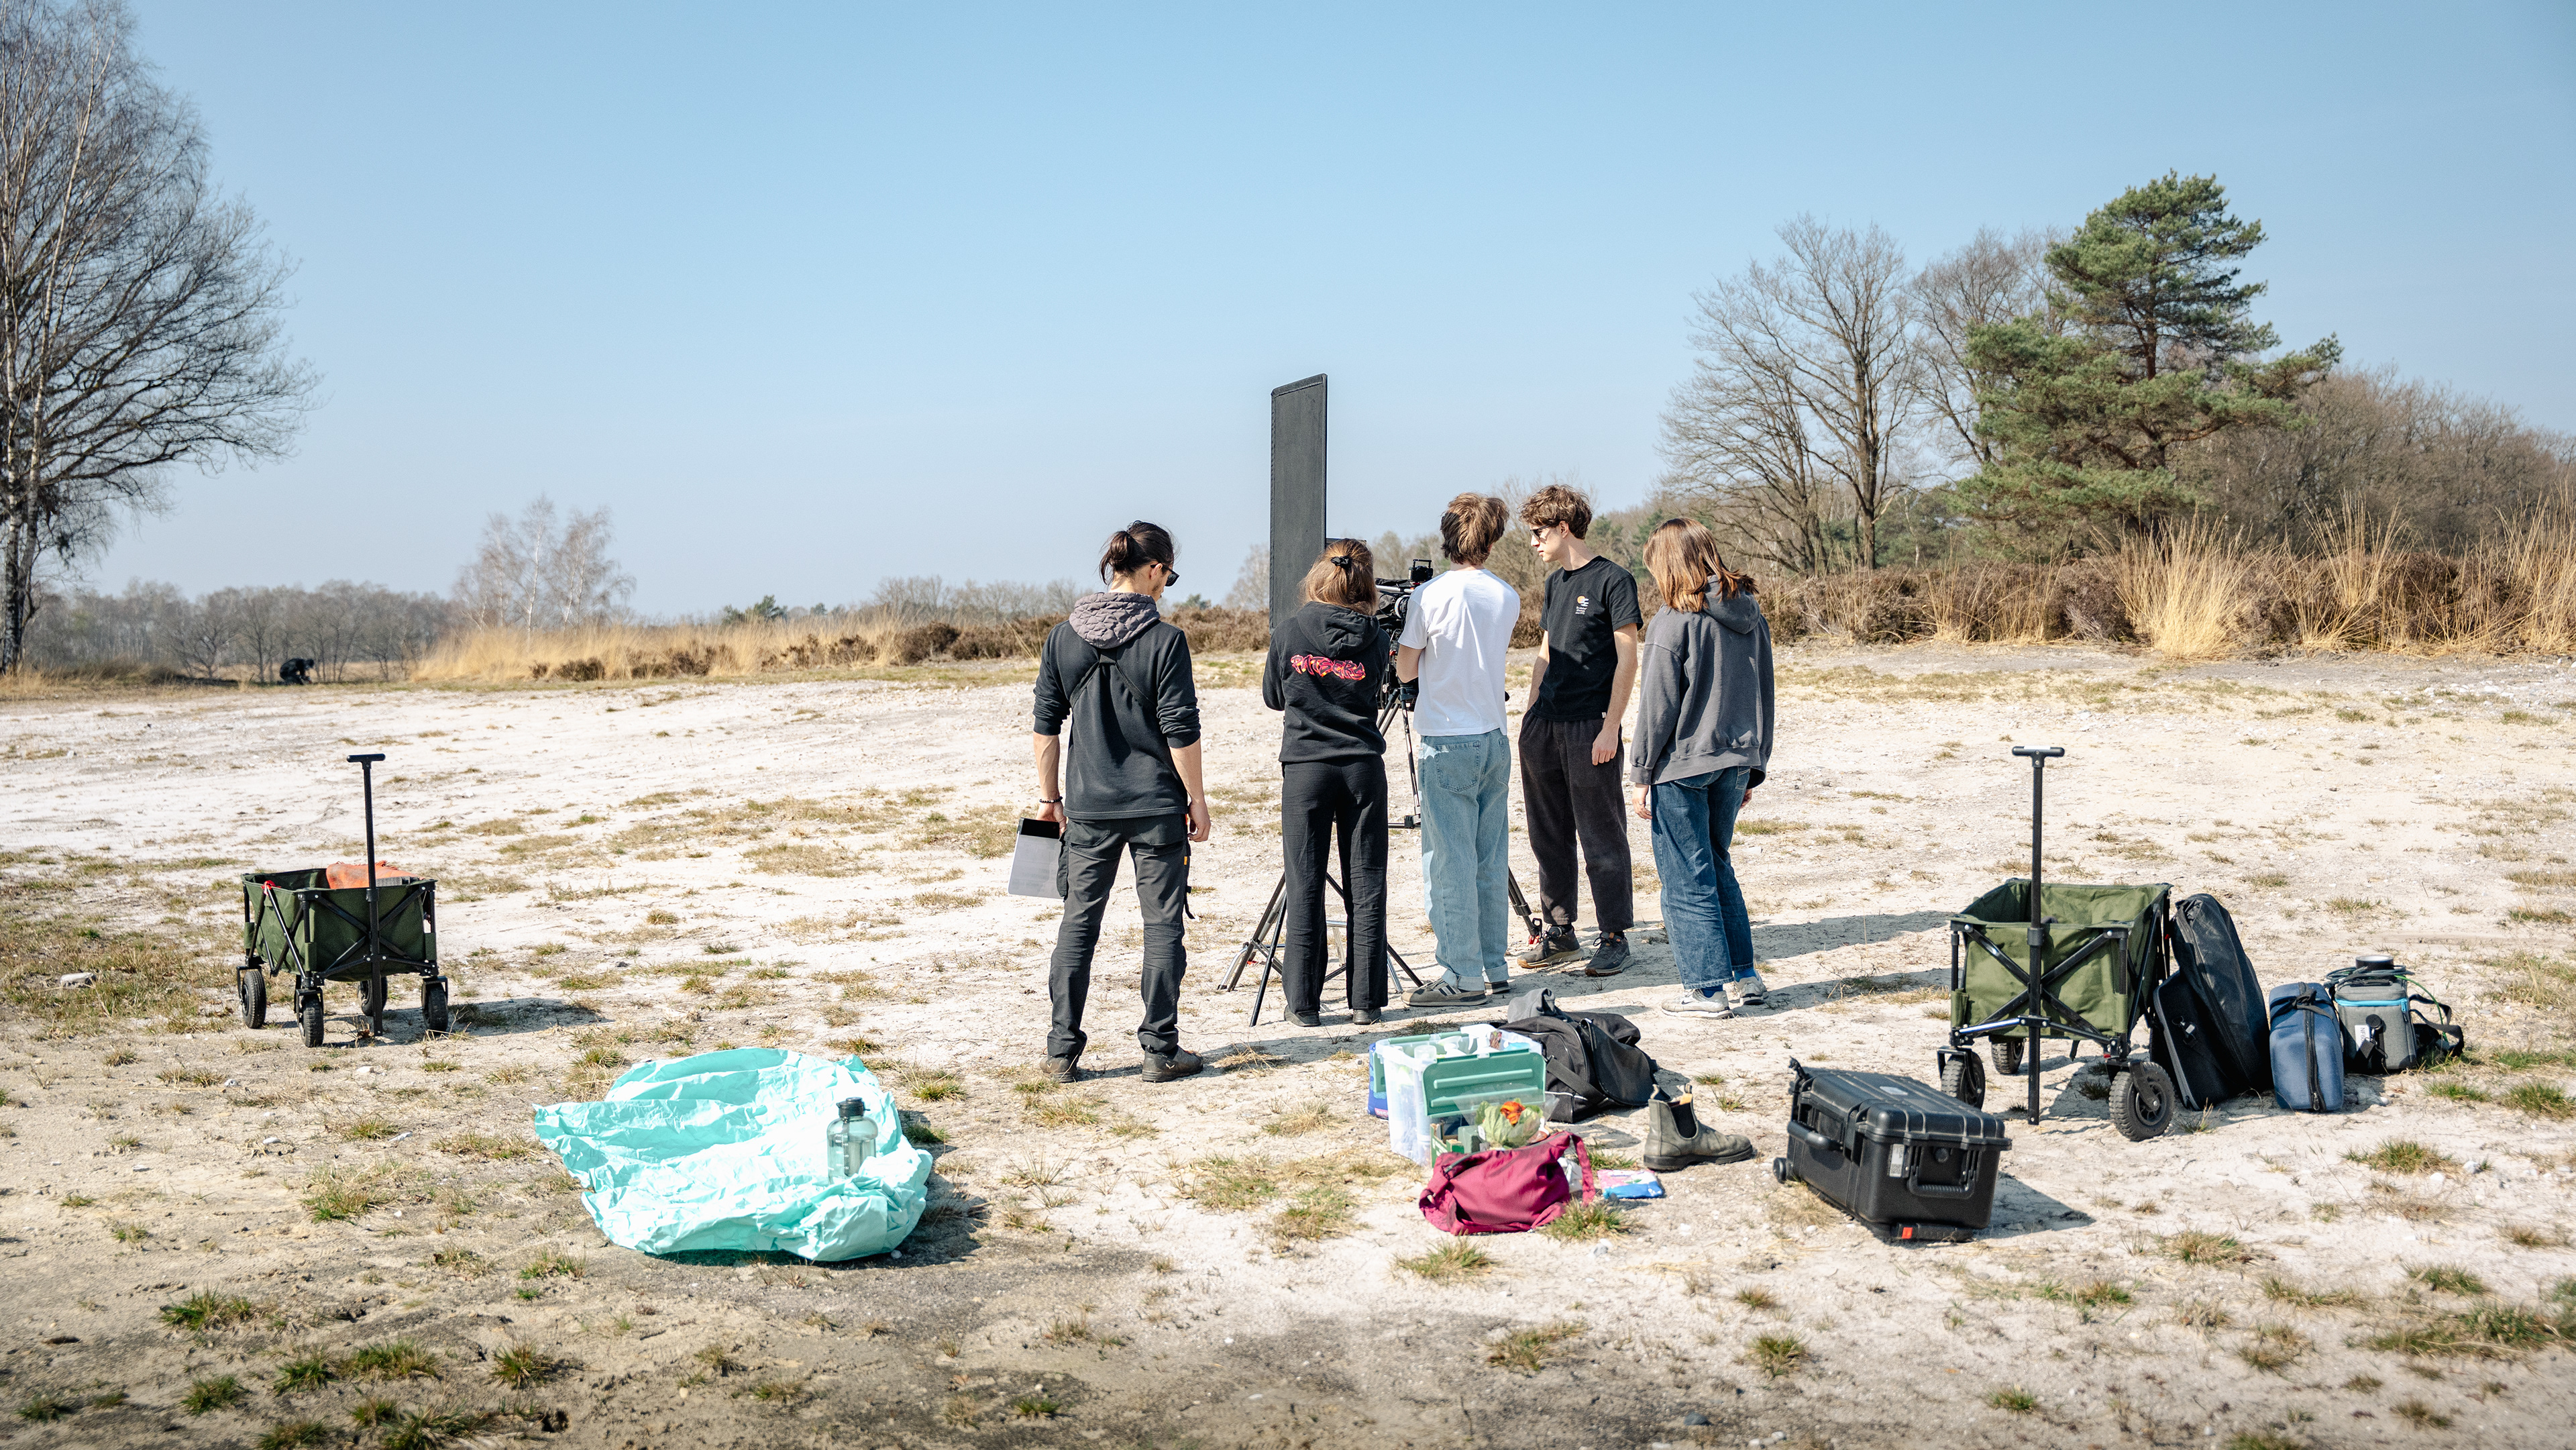
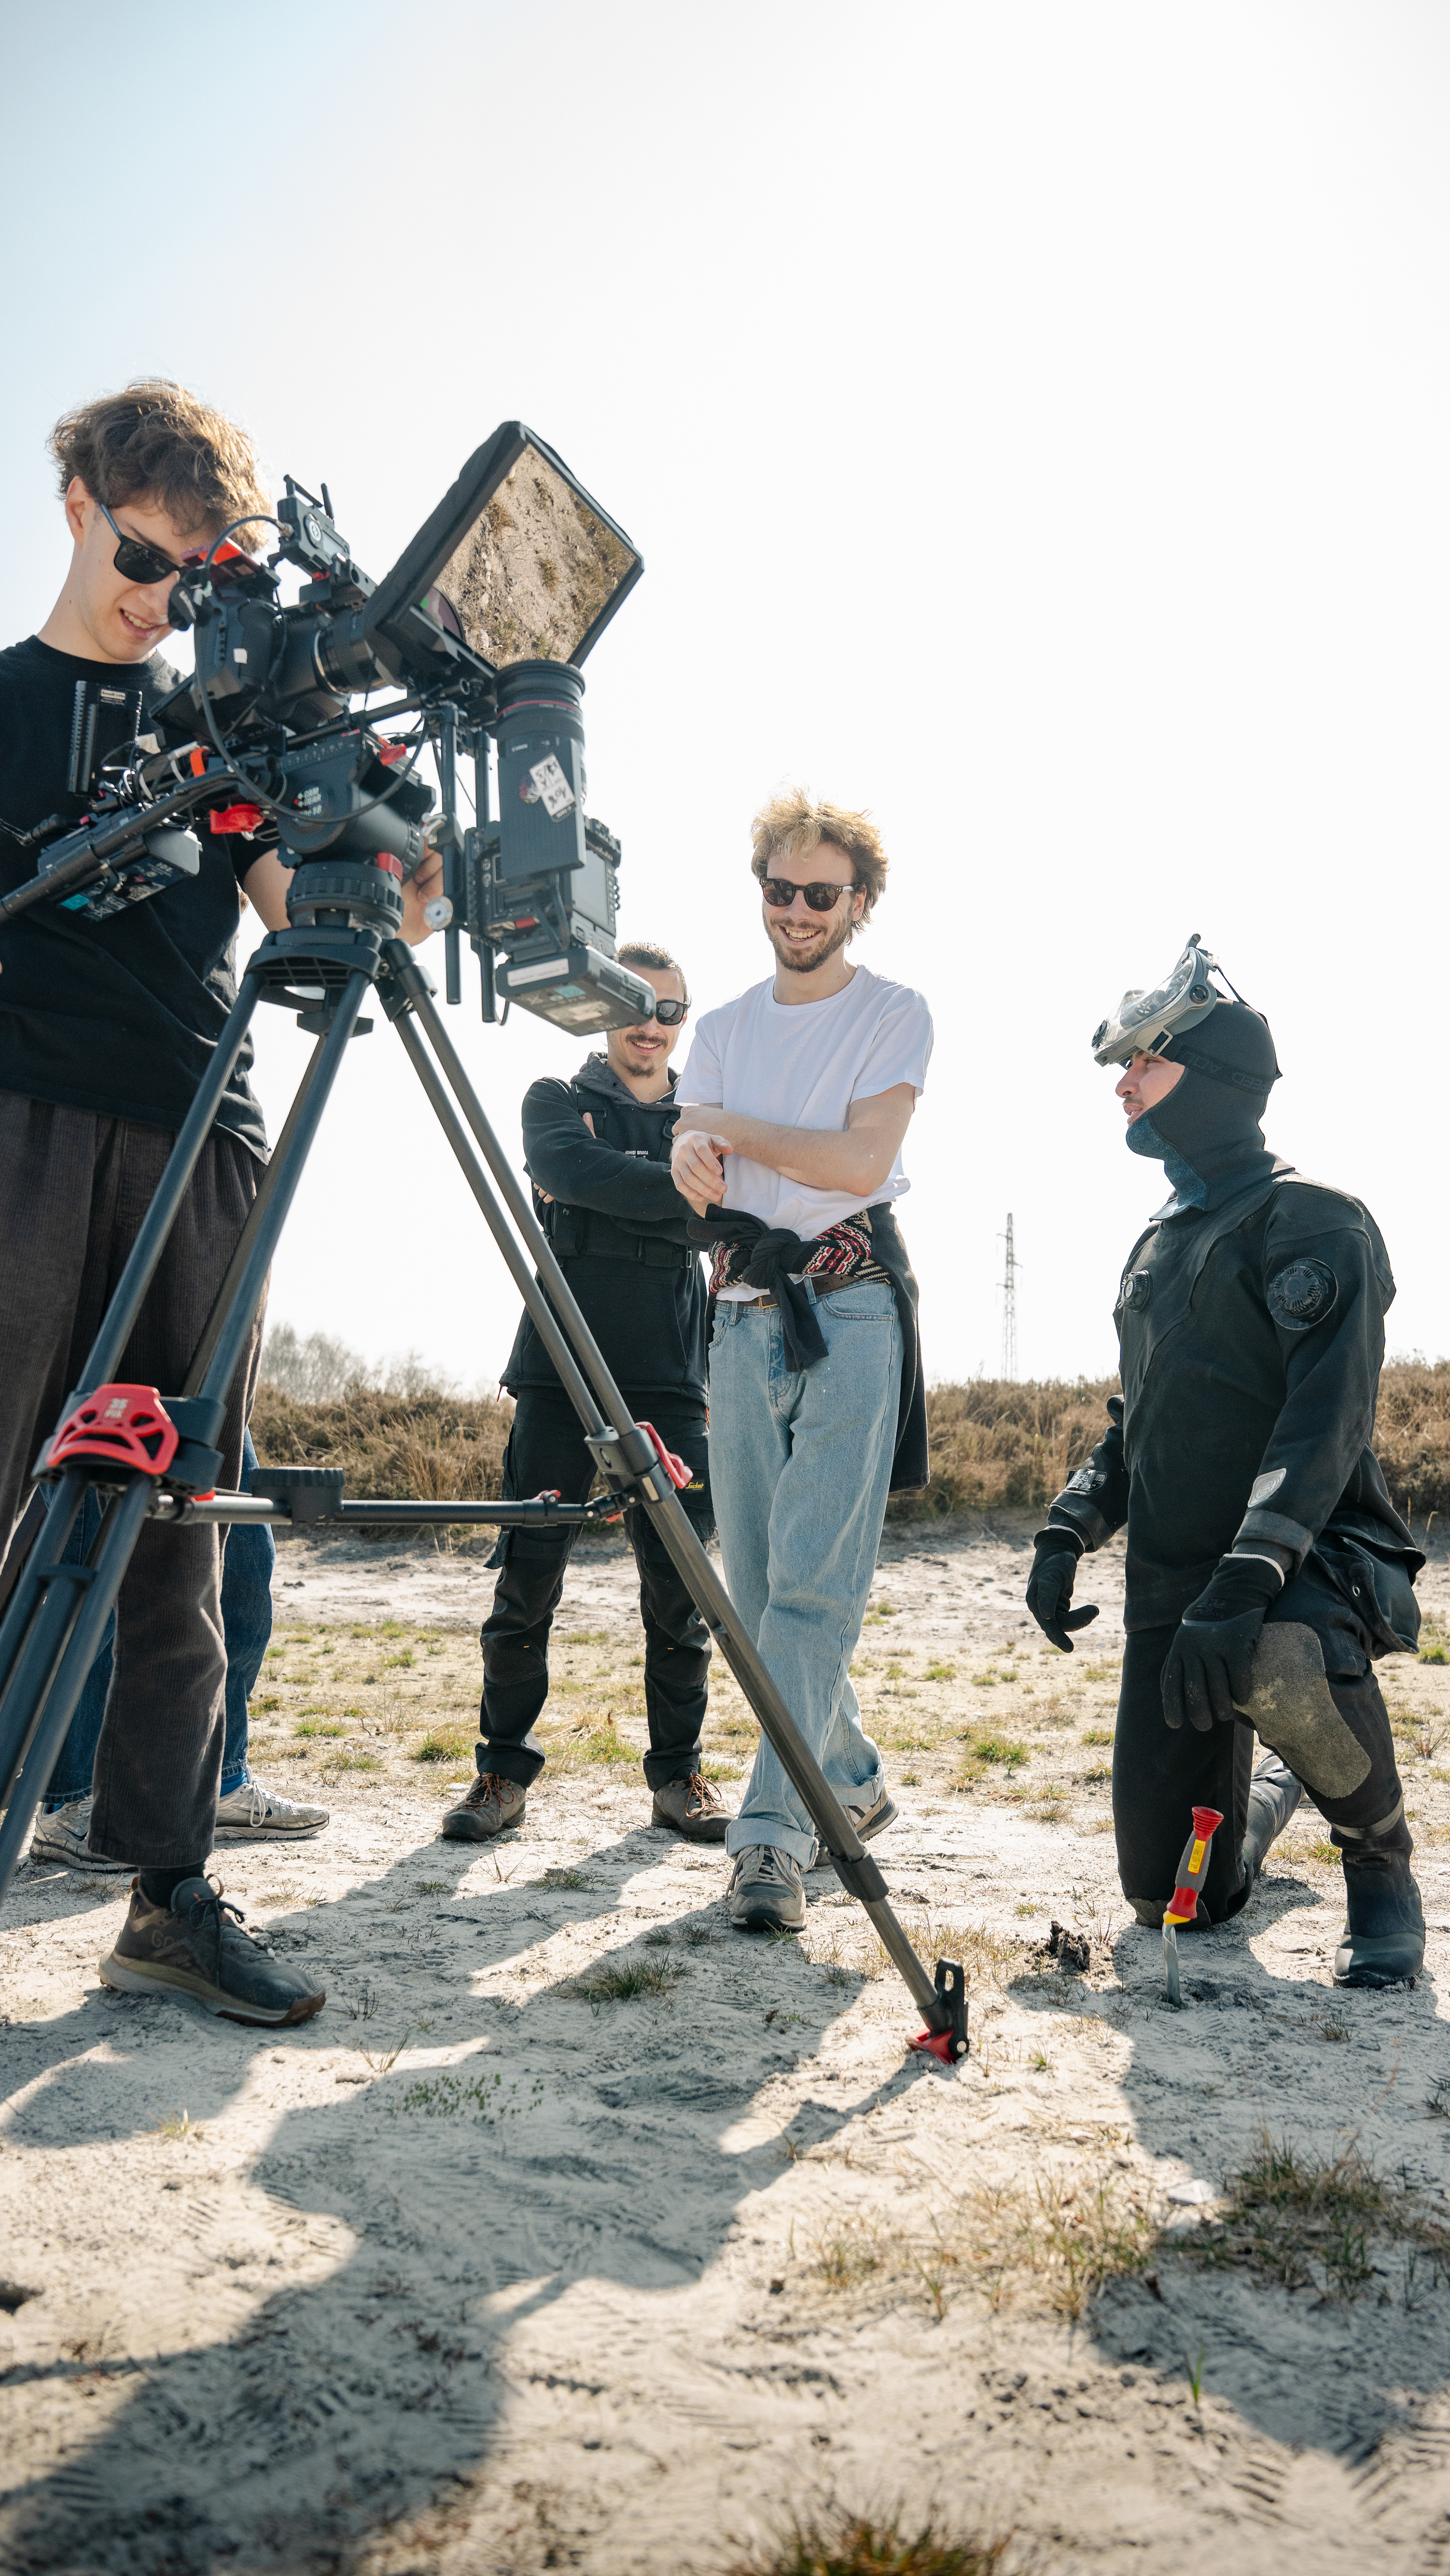
Please enjoy a few behind the scenes shots by the talented Nena Maesen

Thanks!
There are a lot of people that helped this projected come to live so I want to thank everyone that helped on this little side project.
IRreCams for the technical knowledge and lending the filters
Chiel Habils for letting me do cool things like this
Lukas Martens for trusting me with his Blackmagic Pocket 6K Pro and converting it
Pieter Leemans for letting me swing his Komodo on the underside of the mirror
Fien Lowet, Jorre Van Dijck, Cleo Kenis and Milan Vanderstraeten for helping on the shoot
Nena Maesen for the awesome pictures
Nico Vandepoel and Jonas Naegels for lending some additional equipment